
Measuring tools help you get accurate sizes in home tasks. They prevent mistakes in cuts or fits. This guide covers basics for new users. You will learn what tools to start with and how to use them.
Why Use Measuring Tools?
Good measurements lead to better results in DIY work. Wrong sizes waste time and materials. Start with simple tools for most home jobs. They fit tasks like building shelves or hanging pictures.
Essential Measuring Tools
Pick tools that match your needs. Focus on a few key ones at first.
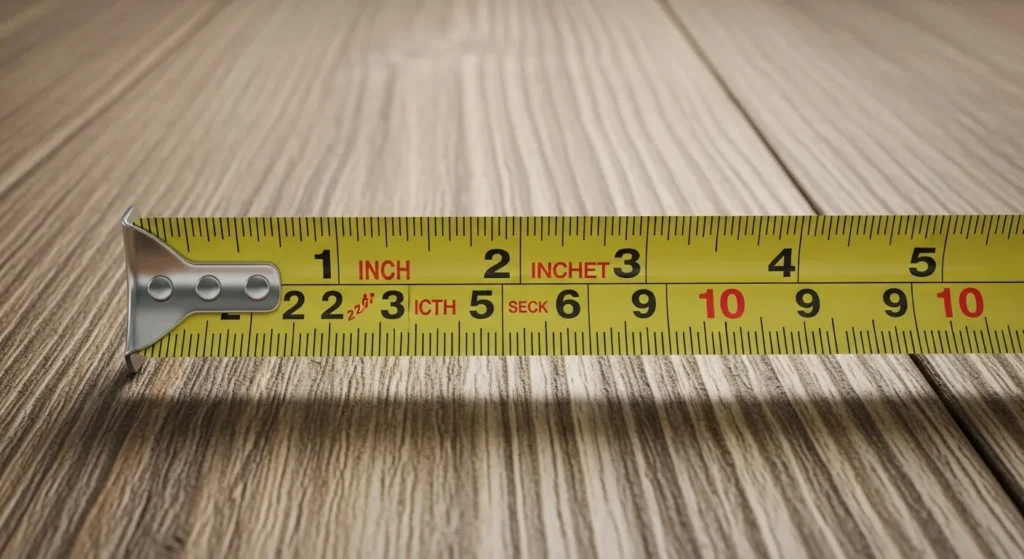
Tape Measure
A tape measure gives quick length reads. It pulls out and locks in place. Use it for rooms or boards.
- Length: Get 25 feet for home use.
- Width: One inch works well.
- Lock: Holds the tape firm.
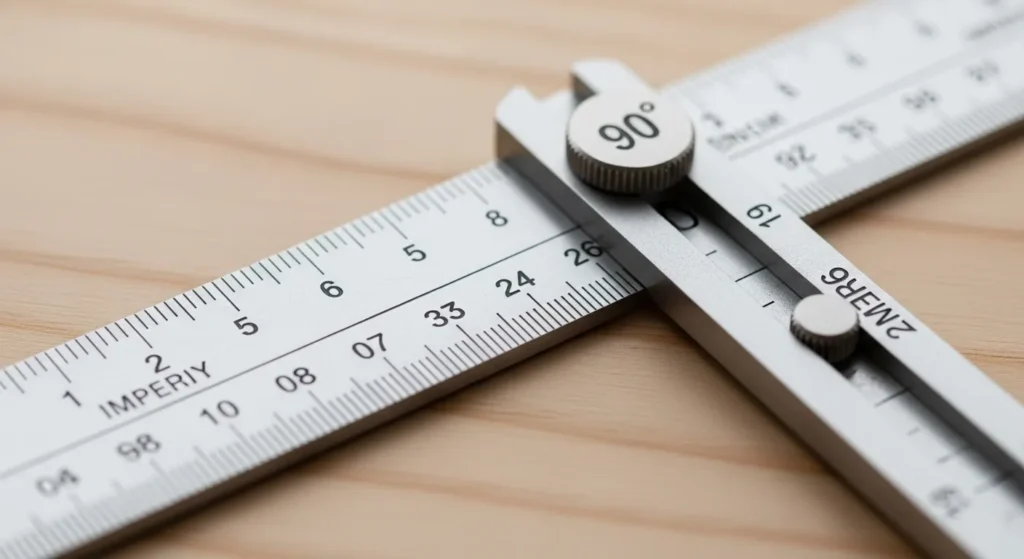
Combination Square
This tool checks right angles. It also marks lines at 45 degrees. Slide the ruler to set sizes.
- Parts: Ruler and head.
- Uses: Check corners or draw straight lines.
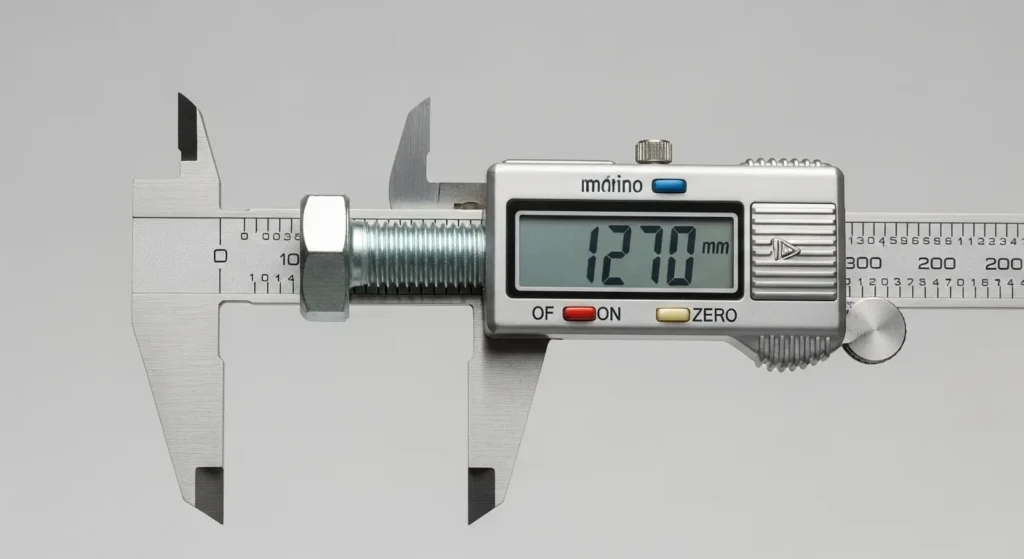
Calipers
Calipers measure small items. They read inside or outside sizes. Digital ones show numbers on a screen.
- Types: Vernier or digital.
- Accuracy: Up to 0.001 inches.
Use for pipe widths or screw lengths.
Marking Gauge
A marking gauge scores lines on wood. It sets a fixed distance from an edge.
- Wheel or pin: Cuts the mark.
- Beam: Adjusts the depth.
Good for joinery in furniture.
Level
A level checks if surfaces are flat. It has bubbles in tubes.
- Types: Torpedo for small spots.
- Length: Two feet for walls.
Use on shelves or frames.

Protractor or Angle Finder
These find angles beyond 90 degrees. Digital versions read exact numbers.
- Range: 0 to 180 degrees.
- Use: For miter cuts.
How to Use Measuring Tools
Follow steps for each tool.
Tape Measure Steps
Hook the end on one side. Pull to the other. Read the mark where it meets.
Check for play in the hook. It allows inside reads.
Square Check
Place the head on an edge. Slide the blade along. Mark if needed.
Test squareness by flipping it.
Caliper Use
Open jaws. Place over item. Close gently. Read the display.
Zero it first for accuracy.
Tips for Accurate Work
Measure twice before you cut. Keep tools clean. Store them dry.
Calibrate digital tools often. Use the same tool for all parts in a project.
Account for wood changes with heat or wet conditions.
Check our guide on best tools for lawn maintenance for outdoor measuring needs.
Common Mistakes to Avoid
Do not bend the tape. It warps reads.
Avoid parallax error on rulers. Look straight down.
Skip cheap tools. They lose accuracy fast.
For more on avoiding errors, see this external source from Toolstoday.
Tool Care and Storage
Wipe tools after use. Oil metal parts to stop rust.
Hang them or use a box. Check for damage before work.
Advanced Tools for Growth
Once basics are down, try a dial indicator. It checks machine setup.
Or get a height gauge for tall measures.
Check best sanders smooth finishes guide for tools that pair with accurate cuts.
Questions Readers Ask
What tool is best for beginners? Start with a tape measure and square.
How accurate are digital tools? They read to 0.001 inches often.
Can I use phone apps? Yes, for quick checks, but tools are more reliable.
What if tools wear out? Replace them to keep precision.
For related ideas, search “types of squares for woodworking” or “how to calibrate calipers.”
This guide gives you the start you need. Practice on small tasks first. Your projects will fit right.


Leave a Reply