
Getting a perfect finish on your woodworking project starts with choosing the right sander. Whether you’re refinishing furniture or preparing surfaces for painting, the right tool makes all the difference between amateur-looking results and professional-quality work.

Understanding Different Sander Types
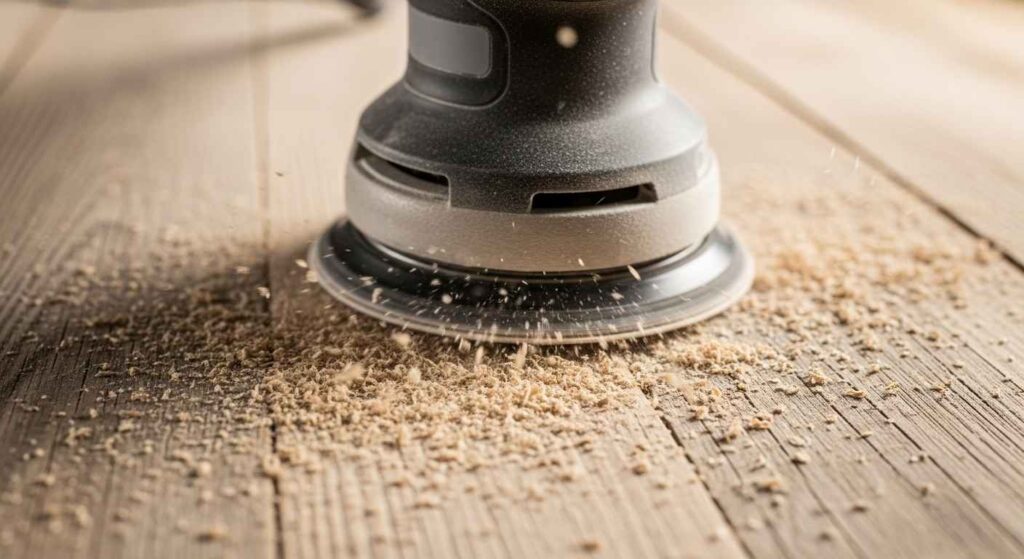
Random Orbital Sanders: The All-Around Champions
Random orbital sanders use a round sanding pad that moves in an orbital motion, providing a smooth finish without leaving any swirl marks. These range from 2″ to 12″, with 5″ models being by far the most popular. They work well for both rough material removal and fine finishing work.
Best for:
- General woodworking projects
- Furniture refinishing
- Paint removal
- Surface preparation
Palm Sanders: Precision for Detail Work
Palm sanders excel at finishing work where control matters most. These machines provide smooth finishes with variable speeds between 7,500 and 12,000 oscillations per minute. Their compact size makes them perfect for detailed work.
Best for:
- Final finishing passes
- Small furniture pieces
- Tight corners and edges
- Light sanding tasks
Detail Sanders: Getting Into Tight Spaces
Detail sanders feature small, triangular designs that make them ideal for getting into tight spaces. These specialized tools handle areas where larger sanders can’t reach.
Best for:
- Furniture restoration
- Window frames
- Decorative molding
- Corner work
Top-Rated Sanders for 2025
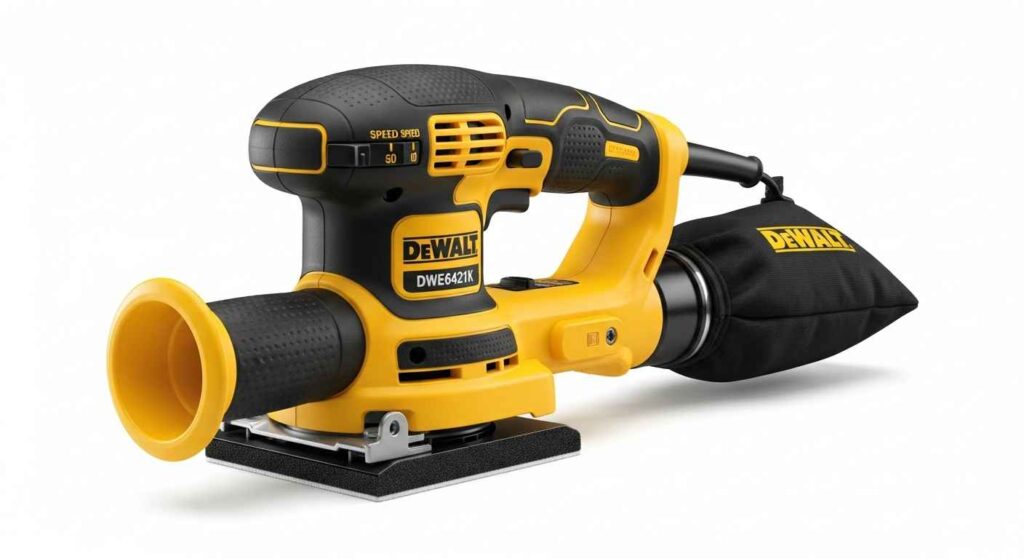
Best Overall: DeWalt DWE6421K Random Orbital Sander
The DeWalt DWE6421K features a 3.0 amp motor – powerful enough to smooth rough spots but gentle enough not to damage the wood. This balance makes it perfect for both beginners and professionals.
Key Features:
- 3.0 amp motor
- Variable speed control
- Dust collection system
- Hook and loop pad system
- 5-inch sanding disc
Price Range: $80-120
Best Value: Bosch ROS20VSC Palm Sander
The Bosch ROS20VSC is strongly recommended and offers excellent value for money. This palm sander has tremendous range, capable of both rapid material removal and fine finishing.
Key Features:
- 2.5 amp motor
- Variable speed settings
- Micro-filtration system
- Palm grip design
- Hook and loop attachment
Price Range: $70-90
Budget Pick: Black+Decker BDERO100 Random Orbital Sander
The BLACK+DECKER Random Orbit Sander has a compact design suitable for sanding in tight spaces with a 2 Amp motor running at 12,000 oscillations per minute.
Key Features:
- 2.0 amp motor
- 12,000 OPM speed
- Compact design
- Basic dust collection
- Affordable entry point
Price Range: $40-60
Professional Choice: Festool ETSC 125
The Festool ETSC 125 ranks as the best overall orbital sander for professional use. While expensive, it delivers unmatched performance and durability.
Key Features:
- Brushless motor
- Advanced dust extraction
- Precision speed control
- Premium build quality
- Professional warranty
Price Range: $400-500

Choosing the Right Sander for Your Project
Consider Your Project Size
Small Projects (furniture touch-ups, craft work):
- Palm sanders work best
- Detail sanders for intricate areas
- Lower power requirements
Medium Projects (furniture refinishing, cabinets):
- 5-inch random orbital sanders
- Variable speed control important
- Good dust collection needed
Large Projects (deck refinishing, floor prep):
- 6-inch random orbital sanders
- Higher amp motors (3.0+)
- Professional dust extraction
Material Considerations
Softwoods (pine, cedar, fir):
- Lower speeds prevent gouging
- Fine grit papers (150-220)
- Light pressure application
Hardwoods (oak, maple, cherry):
- Higher speeds acceptable
- Medium to fine grits (100-180)
- Steady, even pressure
Painted Surfaces:
- Start with coarse grits (60-80)
- Progress to finer grits
- Good dust collection essential
Essential Sander Features for Smooth Finishes
Dust Collection Systems
Effective dust collection improves finish quality and workspace cleanliness. Look for sanders with:
- Built-in dust bags
- Vacuum hose connections
- Micro-filtration systems
- Sealed dust chambers
Variable Speed Control
Speed adjustment prevents damage and improves results:
- Start slow for initial passes
- Increase speed for material removal
- Reduce speed for final finishing
- Match speed to material hardness
Pad Attachment Systems
Hook and Loop (Velcro):
- Quick paper changes
- Secure attachment
- Widely available papers
- Higher initial cost
Adhesive Backing:
- Lower paper costs
- Good for large areas
- Messy removal process
- Limited reusability
Professional Sanding Techniques
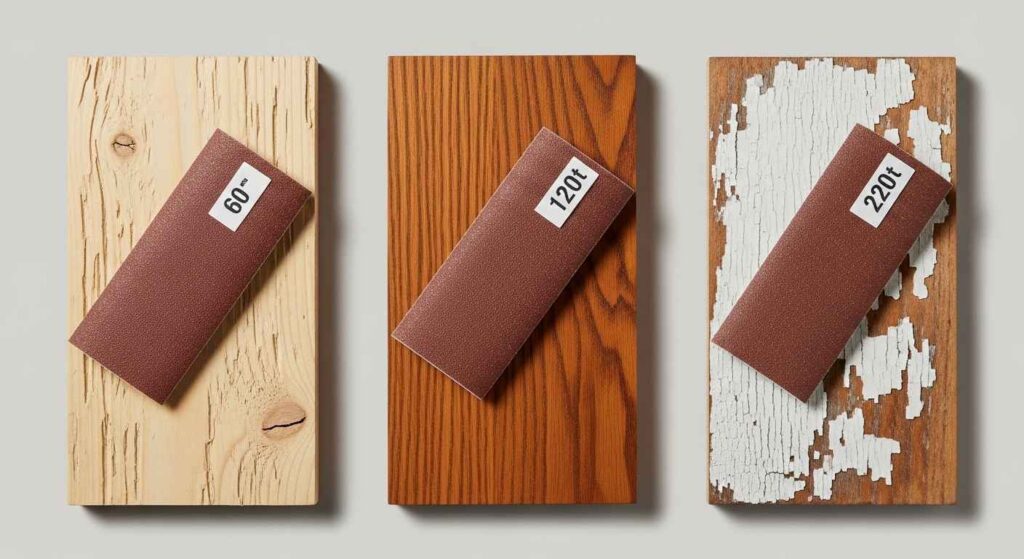
Proper Sanding Sequence
- Start with coarse grit (60-80) for paint removal and major imperfections
- Progress to medium grit (100-120) for surface smoothing
- Finish with fine grit (150-220) for final preparation
- Never skip more than one grit level to avoid scratches
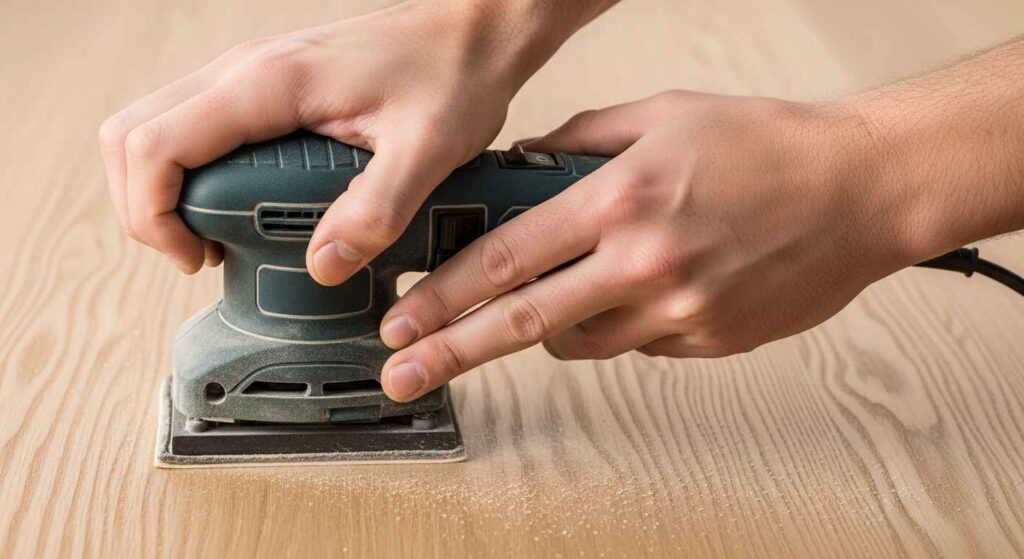
Movement Patterns
- Keep sander moving constantly
- Overlap passes by 50%
- Sand with wood grain direction
- Apply light, even pressure
- Let the sander do the work
Common Mistakes to Avoid
- Using too much pressure (causes swirl marks)
- Staying in one spot too long (creates divots)
- Skipping grit progressions (leaves scratches)
- Sanding against the grain (rough texture)
- Ignoring dust collection (poor finish quality)
Maintenance and Care Tips
Regular Cleaning
- Empty dust collection after each use
- Clean ventilation ports monthly
- Inspect power cords regularly
- Store in dry locations
- Replace worn pads promptly
Extending Sander Life
- Avoid overloading motors
- Use appropriate speeds
- Replace brushes when needed
- Keep moving during operation
- Store properly between uses
Frequently Asked Questions
Q: What grit should I start with for furniture refinishing? A: Start with 80-grit for paint removal, then progress through 120-grit and finish with 180-220 grit for smooth results.
Q: How long should sandpaper last? A: Quality sandpaper typically handles 30-60 minutes of active sanding before replacement, depending on material hardness.
Q: Can I use regular shop vacuum for dust collection? A: Yes, most sanders accept standard shop vacuum hoses with appropriate adapters for improved dust control.
Q: Why does my sander leave swirl marks? A: Swirl marks usually result from excessive pressure, dirty pads, or using worn sandpaper. Maintain light pressure and fresh paper.
Conclusion
The right sander transforms any woodworking project from acceptable to exceptional. Professional-grade sanders like the DeWalt models remove paint in about three minutes, while budget options take around five minutes. Choose based on your project frequency, budget, and required finish quality.
For occasional DIY projects, the Black+Decker BDERO100 provides good value. Regular woodworkers should consider the Bosch ROS20VSC for its versatility. Professionals benefit from investing in the Festool ETSC 125 for its superior performance and durability.
Remember that technique matters as much as tools. Practice proper movement patterns, maintain appropriate pressure, and progress through grit sequences methodically. With the right sander and proper technique, achieving smooth, professional finishes becomes straightforward and satisfying.
Related Articles:
- DIY Pallet Furniture Ideas Save Money
- Paint Finish Guide Choose Perfect Paint Every Room
- Textured Wall Painting Techniques Guide


Leave a Reply