
A storage ottoman adds function to any room. It works as a seat, footrest, or table. Plus, it hides clutter inside. This guide shows you how to make one at home. You need basic tools and skills. The project takes about 6 hours. Cost stays under $80 with smart choices.
Materials and Tools You Need
Gather items first. This keeps work smooth.
Materials:
- Plywood: 1/2-inch thick, one 4×4-foot sheet for box and lid.
- Foam: 2-inch thick, high-density type for cushion.
- Batting: Enough to wrap box and lid.
- Fabric: 2-3 yards, durable like cotton or linen.
- Hinge: One piano hinge, 24 inches long.
- Lid support: Toy box type to hold lid open.
- Screws: 1-1/4-inch wood screws, pack of 50.
- Glue: Wood glue and spray adhesive.
- Legs: Four bun feet, 4-6 inches tall.
- Staples: For staple gun.
- Buttons: Optional for tufting, 6-8 pieces.
Tools:
- Saw: Circular or miter for cuts.
- Drill: With bits for holes.
- Staple gun: For fabric.
- Tape measure: For sizes.
- Sandpaper: 220-grit for smooth edges.
- Clamps: To hold pieces.
Pick foam like V44 for firm feel. It lasts longer. Check stores for current prices.
Pick the Right Size and Style
Measure your space. Standard size is 36 inches long, 24 inches wide, 18 inches high. Adjust for your needs. Small rooms suit 30×20 inches. Tall furniture needs higher legs.
Choose fabric that matches your room. Cotton cleans easy. Linen resists stains. Add tufting for fancy look. Or keep plain for simple style.
For ideas on room setup, see our post on closet organization ideas for small spaces.
Step-by-Step Build Guide
Follow these steps. Work on a flat surface. Wear safety gear.
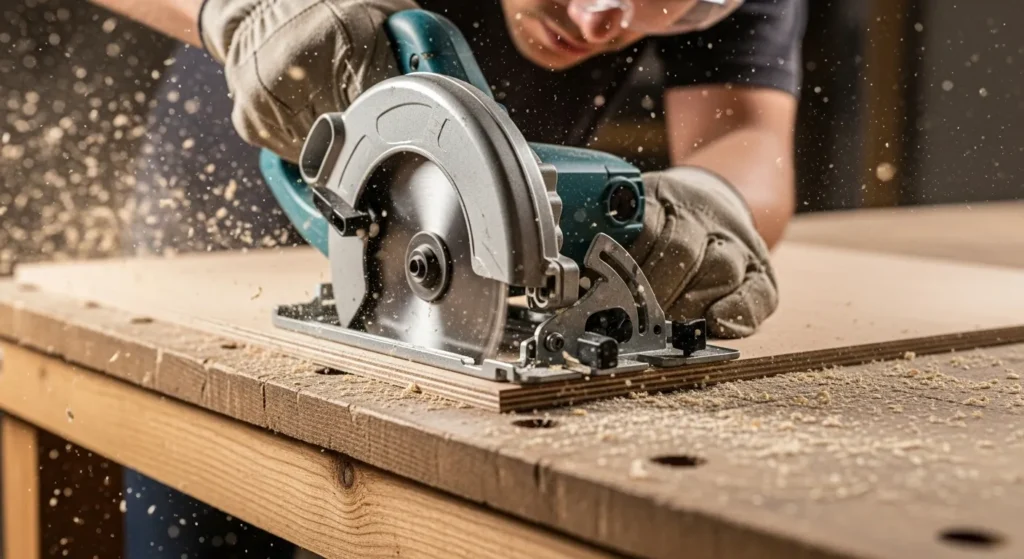
Cut the Wood Pieces
Mark plywood. Cut two sides: 18×18 inches. Cut front and back: 18×36 inches. Cut bottom: 17×35 inches. Cut lid: 19×37 inches.
Sand all edges. This stops splinters.
Assemble the Box Frame
Glue edges of sides to front and back. Clamp tight. Drill pilot holes. Screw pieces together.
Add bottom inside. Glue and screw from below.
Install corner braces if needed. These add strength.
Add Legs to the Base
Flip box over. Mark spots for legs. Drill holes. Screw legs in. Add felt pads under legs to protect floors.
Upholster the Box Sides
Wrap batting around box. Spray adhesive helps it stick. Pull tight. Staple inside edges.
Cover with fabric. Fold corners neat. Staple under bottom and inside top.
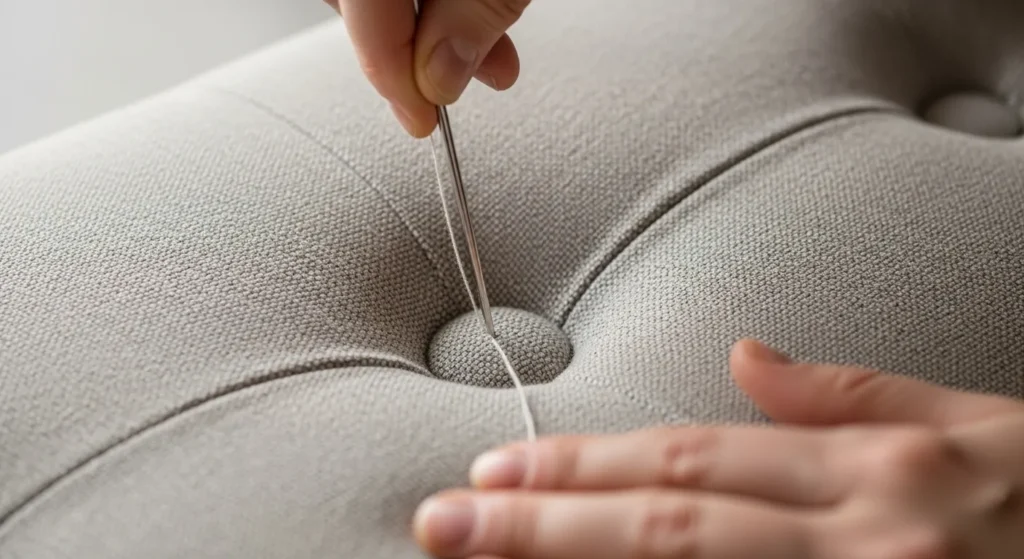
Make the Cushioned Lid
Cut foam to fit lid. Glue foam on top. Add batting over foam. Staple edges under lid.
Cover with fabric. Pull even. Staple on underside.
For tufting, mark spots. Drill small holes. Thread buttons through. Tie secure on back.
Attach the Lid
Screw hinge to back of box and lid underside. Add lid support arm inside. This stops slam shuts.
Test open and close. Adjust if sticks.
Tips for a Strong Finish
Use wood filler on screw holes. Sand smooth. Paint or stain box before fabric.
Change size for more storage. Add wheels instead of legs for easy move.
Avoid common errors. Do not cut foam too small. It gaps. Measure twice.
For more wood projects, check DIY pallet furniture ideas to save money.
How to Care for Your Ottoman
Vacuum fabric weekly. Spot clean spills fast. Use mild soap on stains.
Rotate use to even wear. Keep out of sun to stop fade.
For deep clean, hire pros every two years.
Answers to Common Questions
What foam works best? High-density lasts longer. How much fabric? Add 6 inches extra per side for wraps.
Can I add drawers? Yes, but needs more wood skills. Is it strong for sitting? Yes, with good plywood.
Related ideas: Use old crates for base. Or denim for cover. For organization help, read time-saving organization systems that work.
Why build one? Saves money over store buys. Fits your style perfect.
See more guides at Family Handyman for DIY ottoman plans.
Your new ottoman boosts room use. Store blankets or games inside. Sit back and enjoy.


Leave a Reply