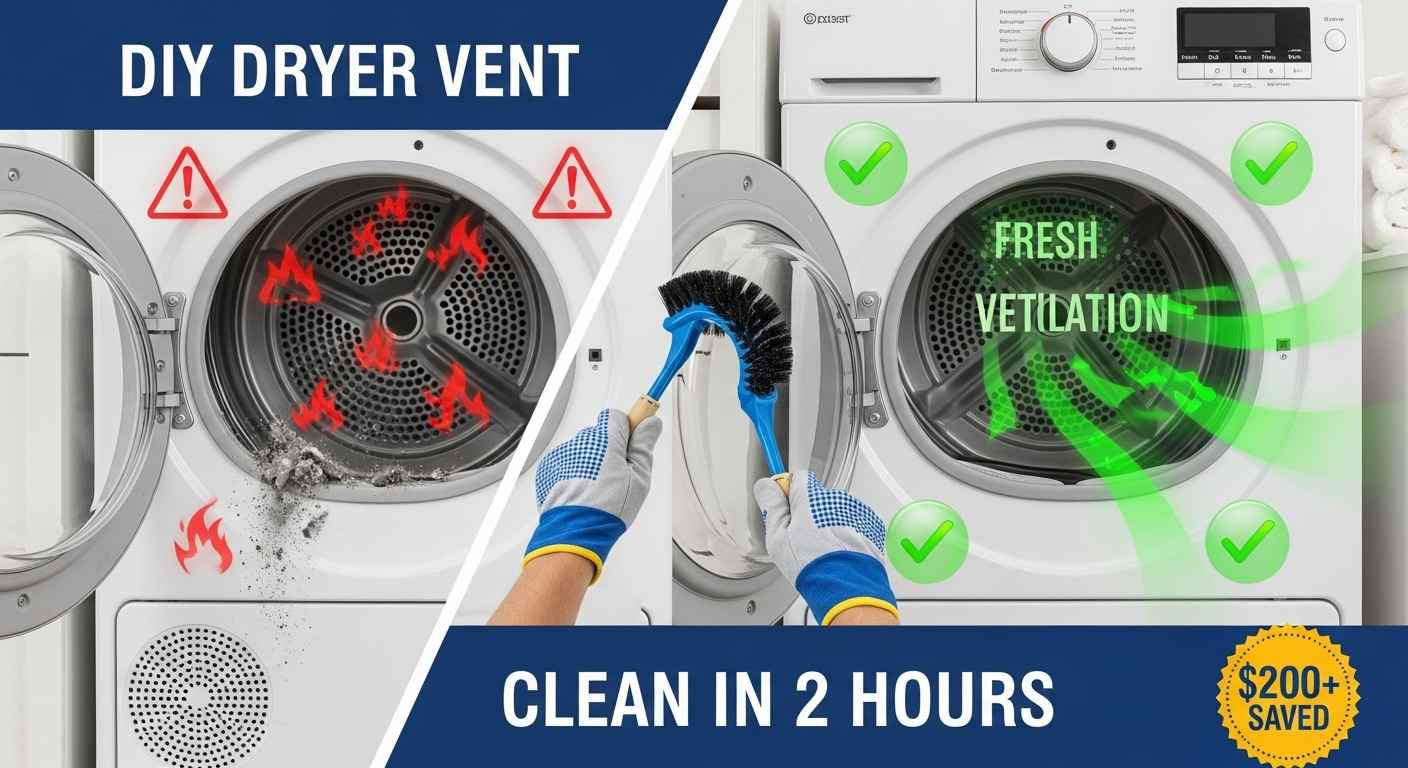
Clogged dryer vents cause 15,970 house fires each year according to the National Fire Protection Association. Your dryer takes twice as long to dry clothes and your energy bills keep climbing. The good news? You can clean your dryer vent yourself in about 2 hours with basic tools.
Signs Your Dryer Vent Needs Cleaning
Watch for these warning signs that tell you it’s time to clean your dryer vent:
Immediate Warning Signs
- Clothes take longer than 30-40 minutes to dry completely
- Clothes feel damp or smell moldy after a full cycle
- Dryer and clothes feel extremely hot during or after cycles
- Laundry room becomes hot and humid while dryer runs
External Signs to Check
- Little to no air coming from outside vent
- Lint visible around the exterior vent opening
- Vent flap doesn’t open when dryer runs
- Birds or rodents have built nests in the exterior vent
Also Read: 15 Time-Saving Organization Systems That Actually Work for Busy Families
What You’ll Need for DIY Dryer Vent Cleaning
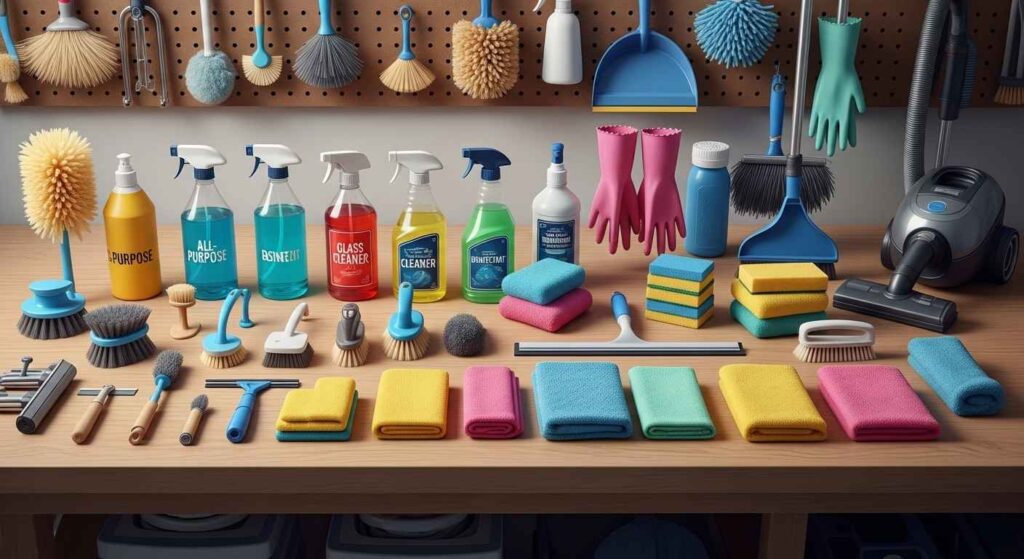
Essential Tools
- Dryer vent cleaning brush kit with extension rods
- Vacuum cleaner with hose attachment
- Screwdriver (flathead and Phillips)
- Flashlight or headlamp
- Work gloves
- Dust mask
Optional Tools for Stubborn Clogs
- Drill-powered brush attachment for rotating action
- Plumbing snake for long runs with 90-degree turns
- Shop vacuum (more powerful than regular vacuum)\
Step-by-Step Dryer Vent Cleaning Process
Step 1: Safety First – Disconnect Power
- Unplug your dryer from the electrical outlet
- For gas dryers, turn off the gas supply valve
- Wait 10 minutes for the dryer to cool completely
- Put on work gloves and dust mask
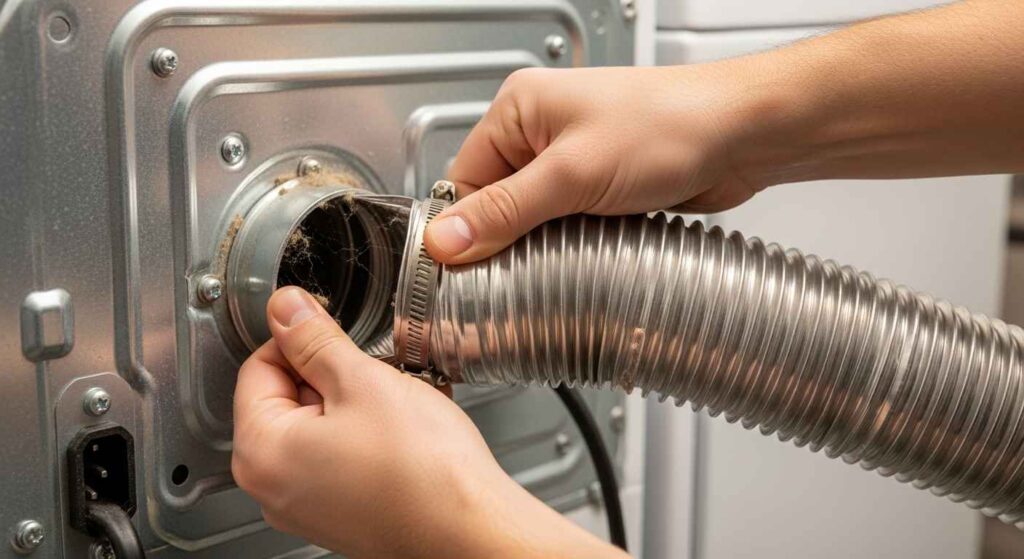
Step 2: Access the Dryer Connection
- Carefully pull the dryer away from the wall
- Loosen the coupling that connects the dryer to the vent duct (screwdriver may be needed)
- Remove any tape securing the connection
- Disconnect the flexible duct from the dryer
Step 3: Clean the Dryer Interior Connection
- Use vacuum hose attachment to clean around the hole at the back of the dryer
- Use a cleaning brush to gently remove debris from the back of the dryer
- Check inside the dryer drum for lint buildup
- Clean the lint trap thoroughly with warm soapy water
Step 4: Clean the Vent Duct from Inside
- Insert the vent brush into the ductwork and spin counter-clockwise
- Push the brush as far as possible down the duct
- Add extension segments if needed for longer ducts
- Follow any turns in the ductwork to capture all lint and dust
- Use vacuum to remove loosened debris
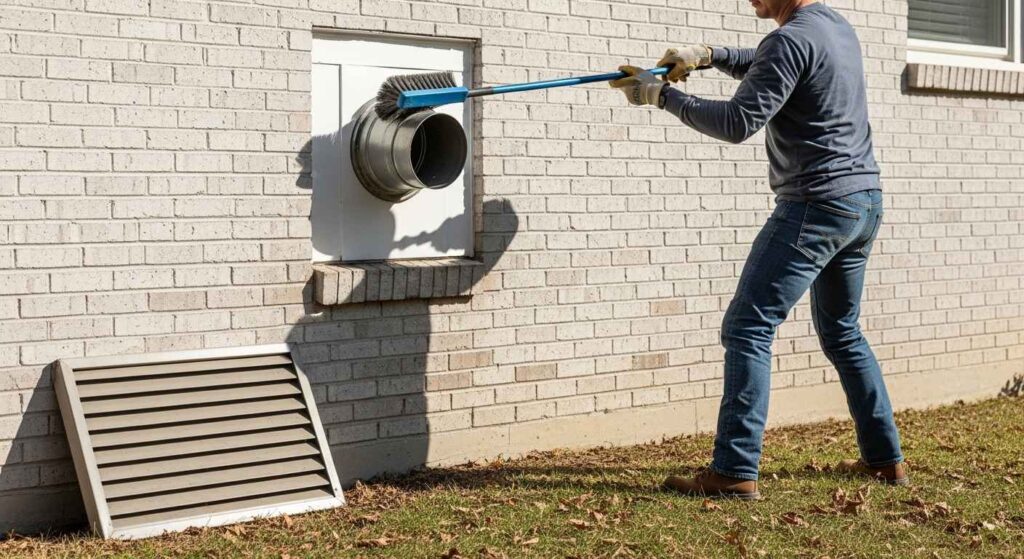
Step 5: Clean the Exterior Vent
- Go outside and locate the exterior vent
- Remove the vent cover from the exterior of your home
- Use your cleaning brush to wipe away dust from the ductwork
- Use vacuum with hose to clear remaining debris
- Check for and remove any bird nests or rodent blockages
- Replace the vent cover when complete
Step 6: Reconnect Everything Safely
- Reconnect the flexible duct to the dryer
- Secure with clamp or coupling
- Apply foil tape if needed for air-tight seal
- Push dryer back into position (don’t crush the duct)
- Plug in dryer and turn on gas supply if applicable
How Often Should You Clean Your Dryer Vent?
Standard recommendation: Clean your dryer vent every 12 months.
Clean more frequently if you:
- Do more than 5 loads of laundry per week
- Have pets that shed heavily
- Use fabric softener sheets regularly
- Have a long vent run (over 25 feet)
- Have multiple bends in your vent system
Also Read: Best Microfiber Cloths 2025: Ultimate Cleaning Guide
Troubleshooting Common Problems
Problem: Brush Won’t Go Further
Solution: Use a plumbing snake for flexible navigation around 90-degree turns. Remove as much lint as possible from both ends.
Problem: Vent Still Seems Blocked
Solution: Check for damaged or crushed ductwork. You may need professional help if the duct is severely damaged or inaccessible.
Problem: Exterior Vent Flap Won’t Open
Solution: The flap bearing may have failed due to mechanical issues. Replace the entire exterior vent cover.
Safety Warnings and When to Call Professionals
Never Attempt DIY Cleaning If:
- Your vent runs longer than 35 feet
- You’re unsure how to safely cut off the dryer power supply
- The ductwork is damaged or disconnected
- You find excessive moisture or mold in the system
Fire Safety Facts
- Clogged dryer vents are a serious fire hazard
- Lint is highly flammable and ignites easily
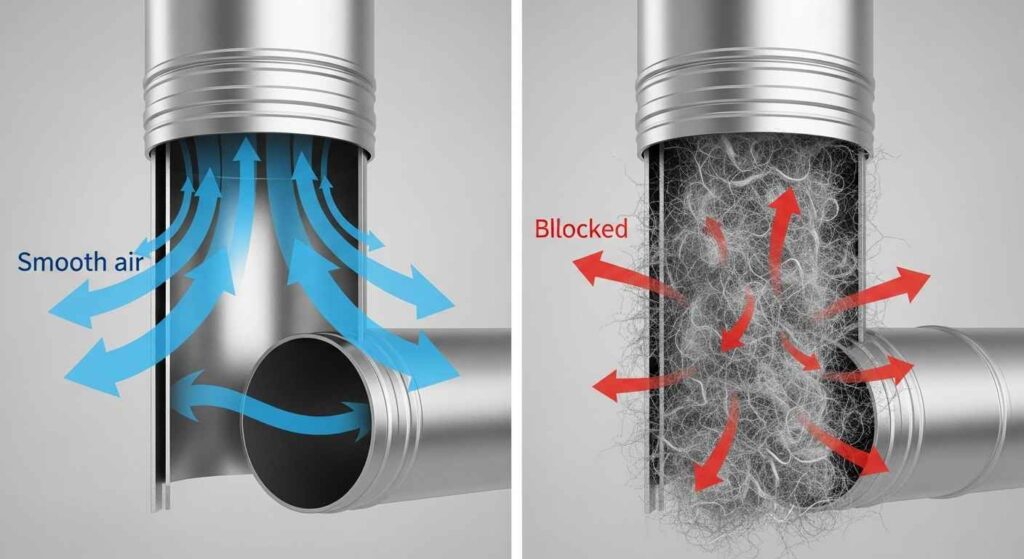
- Blocked vents trap heat and moisture, creating dangerous conditions
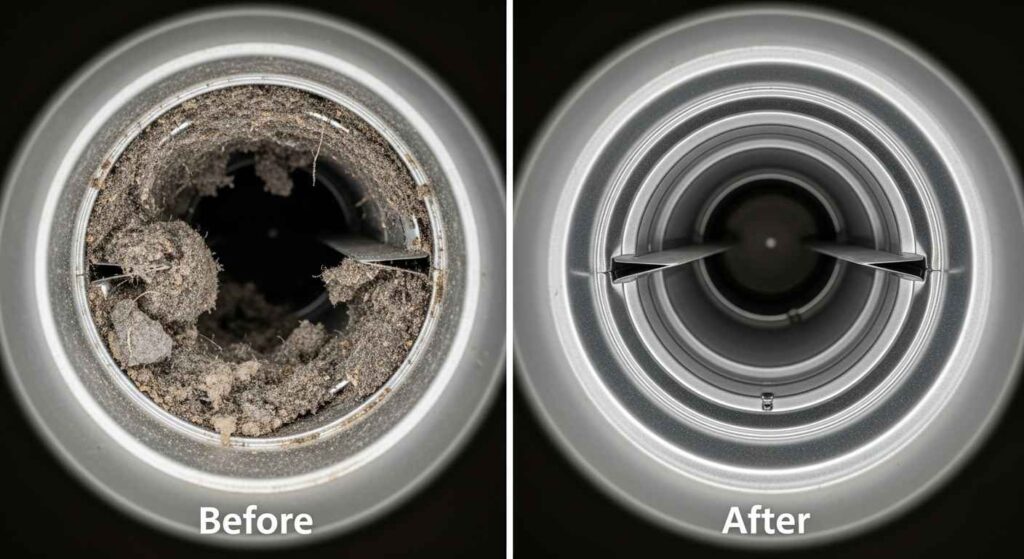
Benefits of Regular Dryer Vent Cleaning
Energy Savings
- Clean vents = faster dry times and lower utility bills
- Reduces wear on your dryer, extending its lifespan
- Restores proper airflow and improves dryer efficiency
Safety Benefits
- Eliminates fire hazards from lint buildup
- Prevents carbon monoxide issues with gas dryers
- Reduces moisture problems that can cause mold
Also Read: 15 DIY Door Furniture Projects That Save $1000+ (2025 Guide)
DIY vs Professional Cleaning: Cost Comparison
DIY Cost: $25-50 for cleaning kit (one-time purchase) Professional Cost: $150-300 per cleaning
When to hire professionals:
- Vent runs longer than 35 feet
- Multiple 90-degree turns in ductwork
- Vent hasn’t been cleaned in over 3 years
- You need proper inspection to confirm complete cleaning
Maintenance Tips to Prevent Future Clogs
After Every Load
- Clean the lint trap completely
- Check that exterior vent flap opens and closes properly
Monthly Checks
- Inspect the area behind your dryer for lint accumulation
- Verify air flows freely from exterior vent while dryer runs
Annual Maintenance
- Deep clean the entire vent system
- Inspect and replace damaged ductwork
- Check that vent run is as short and straight as possible

Final Thoughts
Cleaning your dryer vent takes just a few hours but prevents house fires and saves hundreds of dollars in energy costs and professional cleaning fees. When done properly, your clothes should dry completely in about 45 minutes, and your dryer will run more efficiently.
Set a calendar reminder to clean your dryer vent annually. Your family’s safety and your wallet will thank you.
Remember: If you’re uncomfortable with any part of this process or your vent system is complex, hire a professional. The cost of professional cleaning is far less than dealing with a house fire or dryer replacement.
Also Read: Seasonal Home Organization Guide: 4 Seasons Made Simple


Leave a Reply