
Woodworking lets you create useful items for your home. If you’re new, start with small projects. These use basic tools and common wood. Most finish in a day or two. They teach cuts, joins, and finishes. Choose one that fits your space or needs.
Basic Tools You Need
Gather these before starting. A handsaw or circular saw cuts wood. A drill makes holes and drives screws. Sandpaper smooths edges. A measuring tape ensures straight lines. Clamps hold pieces while glue dries. Safety gear like goggles and gloves protects you. For saw options, see our guide on best saws for DIY woodworking.
- Handsaw: Cuts small pieces straight.
- Drill: Includes bits for pilot holes.
- Sandpaper: Medium and fine grits.
- Measuring tape: Accurate to 1/16 inch.
- Wood glue: Bonds joints strongly.
- Screws: 1-inch for assembly.
These cost under $100 total. Check our beginner’s guide to measuring tools for picking tips.
Safety Tips for New Makers
Work in a clear space. Wear goggles to shield eyes from dust. Use gloves for sharp edges. Keep a fire extinguisher near for finishes. Measure twice before cutting. Practice on scrap wood first. Watch free YouTube videos if unsure.
Project 1: Simple Cutting Board
Make a board for chopping food. It uses one thick plank. This teaches straight cuts and sanding.
Materials:
- 1×12-inch pine board, 18 inches long.
- Food-safe oil for finish.
Steps:
- Cut board to 12×18 inches.
- Sand all sides smooth.
- Round edges with sandpaper.
- Apply oil and let dry.
This board lasts years in the kitchen. It answers “What’s the easiest woodworking project for beginners?”.

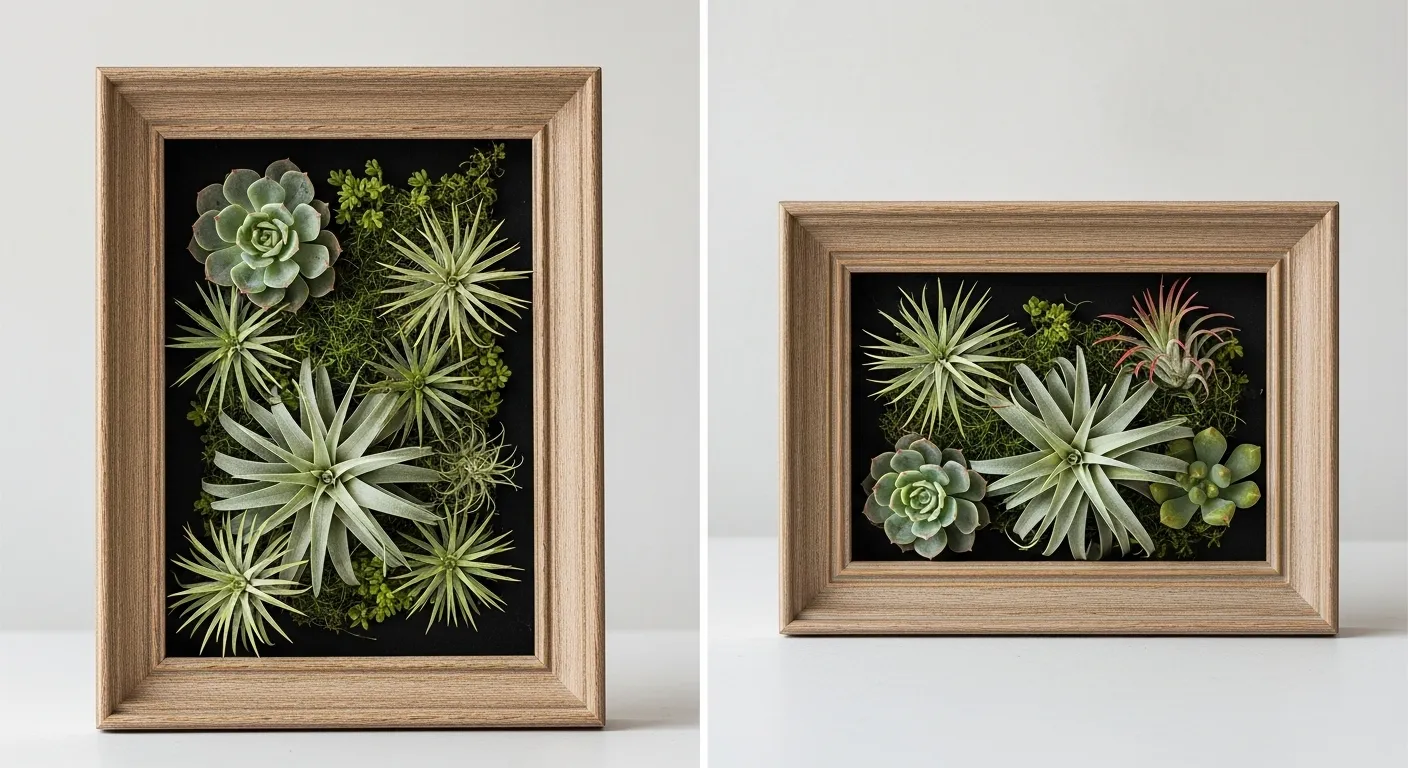
Project 2: Wall Picture Frame
Build a frame for 5×7-inch photos. Practice miter cuts here.
Materials:
- 1×2-inch pine, four 12-inch pieces.
- Glass or plastic insert (optional).
- Backing board scrap.
Steps:
- Cut ends at 45 degrees.
- Glue and clamp corners.
- Add backing with small nails.
- Hang with wire.
Hang it in a hallway. For more plans, visit Family Handyman.

Project 3: Birdhouse for the Yard
Create a bird home. Mount it on a tree. This covers box building.
Materials:
- 1×6-inch cedar, one 12-inch board.
- Small dowel for perch.
Steps:
- Cut sides, front, back, and roof.
- Drill hole in front for entry.
- Assemble with glue and screws.
- Add perch and clean-out door.
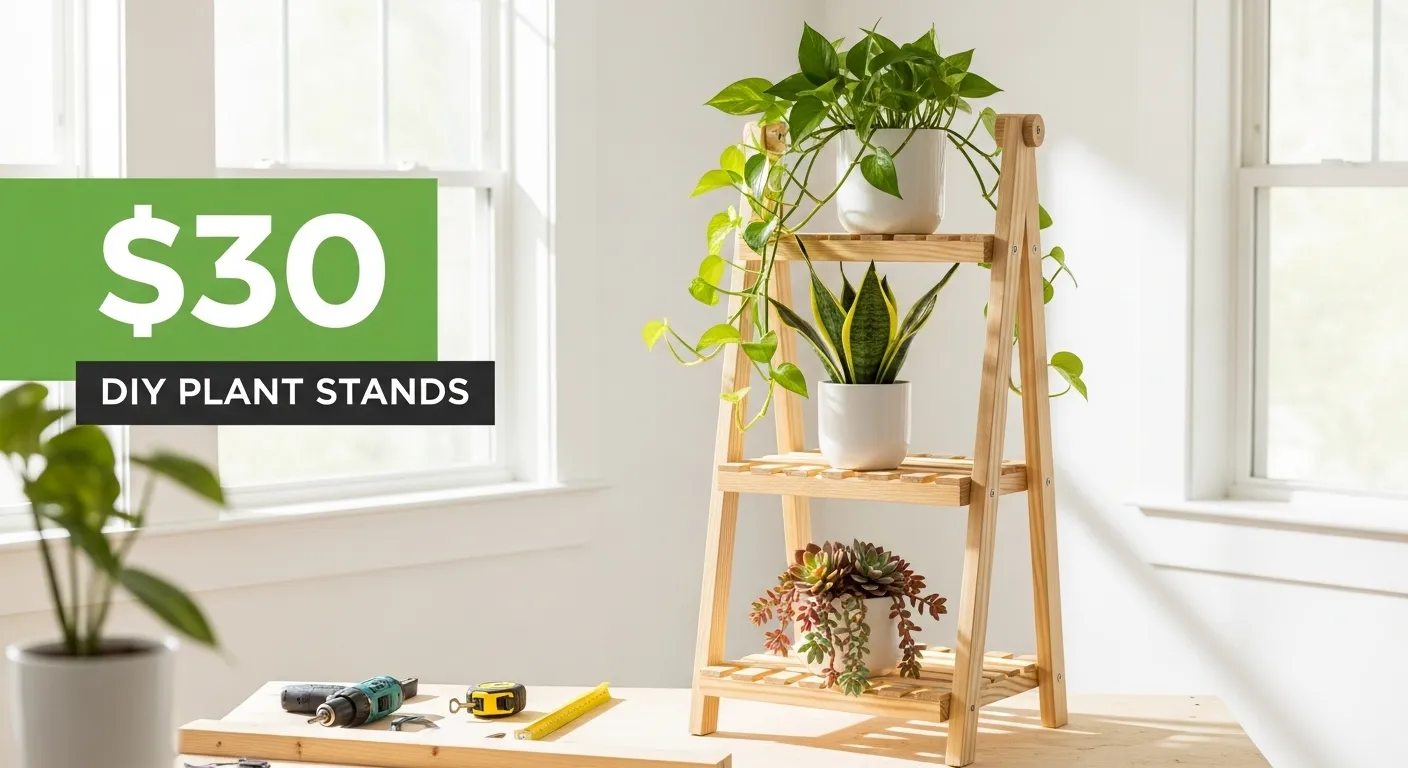
Birds visit in spring. It fits “What can I make with wood for beginners?”. Pair with our DIY plant stand projects under $30 for yard decor.

Project 4: Floating Shelf
Add wall storage for books or plants. Learn bracket-free mounting.
Materials:
- 1×6-inch pine, 24 inches long.
- Bracket kit or toggle bolts.
Steps:
- Cut board to length.
- Sand front edge round.
- Drill holes for wall anchors.
- Mount level on studs.
Use in a bedroom. Find variations at Kreg Tool.

Project 5: Step Stool
Build a short stool for reaching shelves. It folds or stays sturdy.
Materials:
- 1×12-inch plywood, scraps for steps.
- Hinges if folding.
Steps:
- Cut sides and treads.
- Assemble frame with screws.
- Add non-slip tape on top.
- Test for stability.
Keep in the kitchen. It addresses “How do I start woodworking as a beginner?”.

Project 6: Storage Crate
Make a crate for toys or laundry. Stack them if needed.
Materials:
- 1×6-inch pine, four sides and base.
- Rope for handles.
Steps:
- Cut panels to size.
- Nail or screw frame.
- Add base and sand.
- Drill holes for handles.
Store in a closet. See our DIY pallet furniture ideas to save money for larger versions.

Project 7: Plant Stand
Raise a pot off the floor. Fits indoor plants.
Materials:
- 2×4-inch lumber, three legs.
- Top from 1×12 scrap.
Steps:
- Cut legs to 18 inches.
- Angle tops for stability.
- Screw together.
- Finish with sealant.
Place by a window. Check our low-light plants that thrive in dark rooms for plant picks. More at Instructables.

Project 8: Key Holder
Hang keys by the door. Add hooks for bags.
Materials:
- 1×4-inch board, 12 inches.
- Screw-in hooks.
Steps:
- Cut board to width.
- Drill holes for hooks.
- Mount to wall.
- Paint if desired.
No more lost keys. Pair with accent wall design ideas.

Project 9: Serving Tray
Carry drinks to guests. Add handles for grip.
Materials:
- 1×8-inch plywood, 16×12 inches.
- Dowels for handles.
Steps:
- Cut base shape.
- Attach side rails.
- Add handles.
- Seal edges.
Use at meals. Inspired by Fix This Build That.

Project 10: Bookends
Hold books upright on a shelf. Keep them simple.
Materials:
- 1×6-inch wood, two 8-inch pieces.
- Wedge base.
Steps:
- Cut L-shape.
- Sand smooth.
- Weight base if needed.
- Place on shelf.
Great for desks. See time-saving organization systems for book storage.
Finishing and Wood Choices
Use pine or cedar for beginners. They cut easily and cost less. Sand after assembly. Apply varnish for protection. Seal for wet areas. Common mistake: Skipping clamps weakens joints. Fix by gluing first.
These projects build skills gradually. Start with one and share your results below. For more DIY tips, visit our must-have tools for new homeowners.

Leave a Reply