
Deep cleaning becomes twice as hard when you skip the decluttering step. Most homeowners waste hours moving items around instead of cleaning the surfaces underneath. This complete checklist shows you exactly what to remove from each room before you start scrubbing, making your deep clean faster and more effective.
Why Declutter Before Deep Cleaning?
Decluttering allows you to access all surfaces and corners, and helps you observe spaces in your home that may need cleaning that may have been overlooked. When you remove unnecessary items first, you can clean more thoroughly without constantly moving things out of the way.
Key Benefits:
- Cuts cleaning time by 40-60%
- Prevents damage to belongings during cleaning
- Reveals hidden dirt and problem areas
- Makes organizing easier after cleaning
- Reduces stress and overwhelm

The 15-Minute Rule: Start Small
Begin with quick wins that build momentum. Set a timer for 15 minutes and tackle one small area completely. This prevents burnout and creates visible progress that motivates you to continue.
Room-by-Room Decluttering Checklist
Kitchen Decluttering Checklist
Countertops (5 minutes):
- Remove all small appliances not used daily
- Clear mail, papers, and non-kitchen items
- Put away dishes and utensils
- Store cleaning supplies under sink
Cabinets and Pantry (15 minutes):
- Check expiration dates on perishable items in the fridge, pantry and cabinets
- Remove expired food and condiments
- Group similar items together
- Clear items from cabinet fronts
Refrigerator (10 minutes):
- Remove expired food and leftovers
- Take out removable shelves and drawers
- Clear magnets and papers from exterior
- Empty ice maker if deep cleaning
What to Remove Temporarily:
- Coffee maker, toaster, blender
- Dish towels and potholders
- Decorative items and plants
- Cleaning caddies and supplies
Living Room Decluttering Checklist
Coffee Table and Side Tables (5 minutes):
- Remove books, magazines, and remotes
- Clear decorative items and plants
- Put away electronics and chargers
- Store throw blankets in basket
Entertainment Center (10 minutes):
- Remove DVDs, games, and electronics
- Clear decorative items from shelves
- Disconnect gaming systems temporarily
- Store remotes in designated container
Furniture Surfaces (5 minutes):
- Remove throw pillows and blankets
- Clear end tables completely
- Store books and magazines
- Put away personal items
What to Remove Temporarily:
- Throw pillows and decorative cushions
- Table lamps and decorative lighting
- Plants and vases
- Picture frames from surfaces
- Electronics and gaming equipment
Bedroom Decluttering Checklist
Nightstands (5 minutes):
- Remove books, glasses, and personal items
- Clear charging cables and electronics
- Put away medications and lotions
- Store jewelry in designated box
Dresser Tops (5 minutes):
- Remove all decorative items
- Put away perfumes and cosmetics
- Clear jewelry and accessories
- Store hair tools and products
Bed Area (10 minutes):
- Strip bed completely including mattress pad
- Remove decorative pillows and throws
- Clear items from under bed
- Store extra bedding elsewhere
What to Remove Temporarily:
- All bedding including sheets and pillows
- Decorative pillows and throws
- Lamps and electronics
- Personal care items
- Clothing from chairs and floor
Bathroom Decluttering Checklist
Counter and Sink Area (5 minutes):
- Remove all toiletries and cosmetics
- Clear hair tools and products
- Put away medications safely
- Store toothbrushes and personal items
Shower and Tub (5 minutes):
- Remove all bottles and products
- Clear bath toys and accessories
- Take out shower caddies
- Remove bath mats and curtains
Medicine Cabinet and Storage (5 minutes):
- Remove expired medications safely
- Clear old cosmetics and products
- Organize remaining items in bins
- Store items in temporary container
What to Remove Temporarily:
- All shower and bath products
- Towels and bath mats
- Decorative items and plants
- Cleaning supplies
- Personal care electronics
Home Office/Study Decluttering Checklist
Desk Surface (10 minutes):
- Remove all papers and documents
- Clear electronics and cables
- Put away office supplies
- Store books and reference materials
Shelves and Storage (10 minutes):
- Remove books and binders temporarily
- Clear decorative items
- Organize loose papers into files
- Store craft supplies and materials
What to Remove Temporarily:
- Computer equipment and electronics
- Paper files and documents
- Office supplies and stationery
- Books and reference materials
- Decorative items and plants
Quick Decluttering Tips That Work
The Box Method: Use three boxes labeled “Keep,” “Donate,” and “Trash.” This method prevents decision paralysis and speeds up the process.
Start High, Work Down: Start by using a long dusting wand to remove cobwebs and dust strands from the ceiling, then move to the ceiling trim and light fixtures. Clear items from high shelves first, then work your way down to floor level.
Handle Items Once: When you pick up an item, make an immediate decision. Put it in its proper place, donate box, or trash. This prevents re-handling the same items multiple times.
Use the “One-Year Rule”: If you haven’t used something in a year, consider donating it. This applies to kitchen gadgets, clothing, books, and decorative items.
What to Do With Removed Items
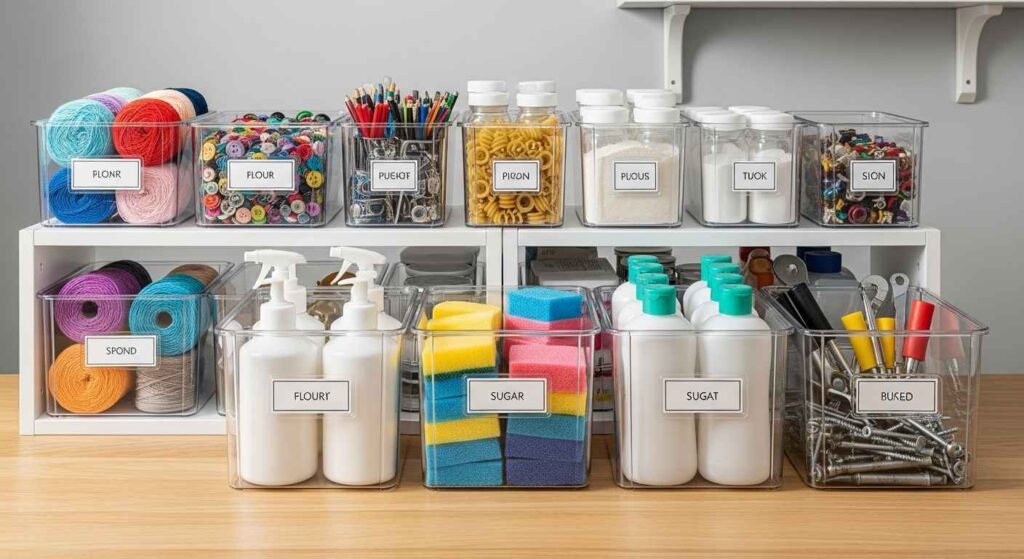
Temporary Storage Solutions:
- Use laundry baskets for each room’s items
- Store cleaning products in a portable caddy
- Group similar items in bins or boxes
- Label containers clearly for easy return
Items That Need Special Handling:
- Electronics: Store in anti-static bags
- Fragile items: Wrap in soft cloths
- Plants: Move to protected area with adequate light
- Important papers: Store in waterproof container
Common Decluttering Mistakes to Avoid
Moving Clutter Instead of Removing: Don’t just relocate items to another room. Actually decide what stays and what goes during the decluttering phase.
Trying to Do Everything at Once: Decluttering becomes less of a dreaded chore and more of something you might even look forward to when you break it into manageable chunks.
Skipping the Sort Step: Always sort items into categories before putting them back. This prevents future clutter buildup.
Not Having a Plan for Donations: Schedule donation pickup or drop-off before you start. Having a clear exit plan for unwanted items prevents them from sitting around.
Time-Saving Decluttering Schedule
Week Before Deep Cleaning:
- Monday: Kitchen and dining room
- Tuesday: Living areas
- Wednesday: Bedrooms
- Thursday: Bathrooms
- Friday: Home office and storage areas
- Weekend: Final organization and donation runs
Day of Deep Cleaning:
- 30 minutes before cleaning: Final surface clearing
- During cleaning: Keep donation boxes handy for items discovered
- After cleaning: Return only essential items to each room
Creating Clutter-Free Zones
Establish permanent “no clutter” zones that stay clear year-round:
- Kitchen counters (keep only daily-use appliances)
- Dining table surface
- Bathroom counters
- Entryway surfaces
- Coffee table center
These zones make future decluttering sessions faster and maintain the clean look longer.
Tools You’ll Need for Decluttering
Essential Supplies:
- Large trash bags for disposal
- Donation boxes or bags
- Cleaning cloths for dusty items
- Labels for temporary storage
- Portable storage containers
Helpful Tools:
- Step ladder for high shelves
- Vacuum for dusty areas
- Microfiber cloths for delicate items
- Permanent markers for labeling
- Timer for 15-minute sessions
What to Do After Deep Cleaning
Smart Re-organizing Tips:
- Return only 75% of items to each space
- Group similar items together
- Leave breathing room on shelves and surfaces
- Store frequently used items at eye level
- Keep surfaces 80% clear for easier maintenance
Maintenance Schedule:
- Daily: 10-minute pickup before bed
- Weekly: One drawer or cabinet declutter
- Monthly: One room refresh
- Seasonally: Full decluttering review
Frequently Asked Questions
How long should decluttering take before deep cleaning? Plan 2-4 hours for an average home, depending on clutter levels. Break this into 15-30 minute sessions over several days for less overwhelming results.
Should I clean items while decluttering? No, focus on removal and sorting only. Cleaning items during decluttering slows down the process and defeats the purpose of clearing surfaces first.
What if I find items I’m unsure about keeping? Use the “maybe box” method. Store uncertain items for 6 months. If you don’t miss or need them, donate the entire box without opening it.
How often should I declutter before deep cleaning? Seasonally works best for most homes. Some high-traffic areas may need monthly decluttering, while storage areas might only need annual attention.
Final Steps: Putting It All Together
There will always be one more dish to wash or one more mess to clean up. If you only focus on cleaning with the hopes of having some extra time to declutter at the end, you’ll never get around to decluttering. Make decluttering the non-negotiable first step in your deep cleaning routine.
Remember that removing items we no longer need and organizing what’s left can give us a fresh outlook on our homes and leave us feeling calmer and happier. This process isn’t just about cleaning; it’s about creating a more peaceful, functional living space.
Start with just one room using this checklist. The momentum from that first success will carry you through the rest of your home. Your future self will thank you for taking the time to declutter properly before deep cleaning begins.
Additional Resources:
Leave a Reply