
Stencils make it easy to add unique patterns to your walls using paint. They’re a budget-friendly alternative to wallpaper, letting you customize colors to match your space. You can change the design later without damage, making it ideal for renters or anyone wanting a fresh look. This guide walks you through creating stunning DIY stencil wall art, perfect for accent walls or full rooms, with clear steps and tips for success.
Why Choose Stencil Wall Art
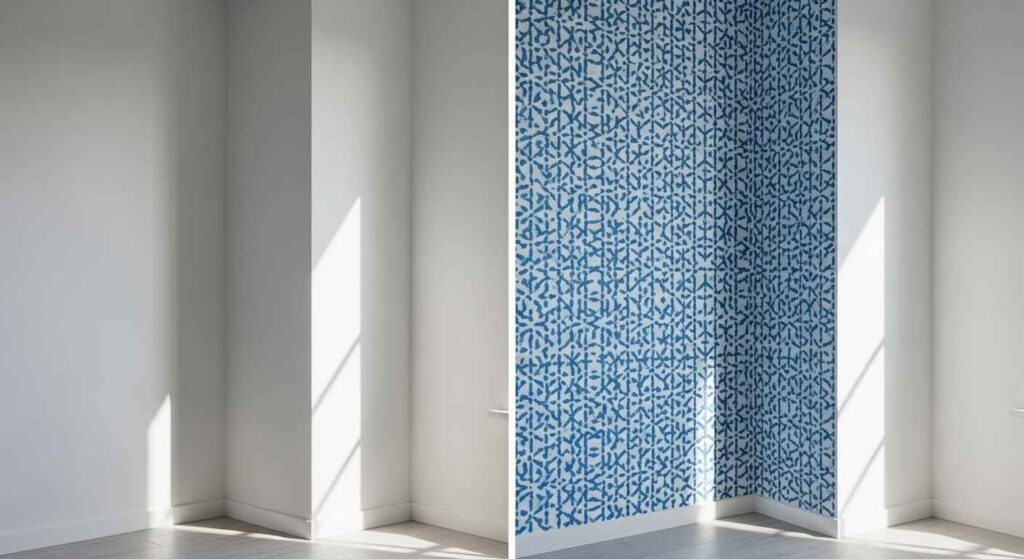
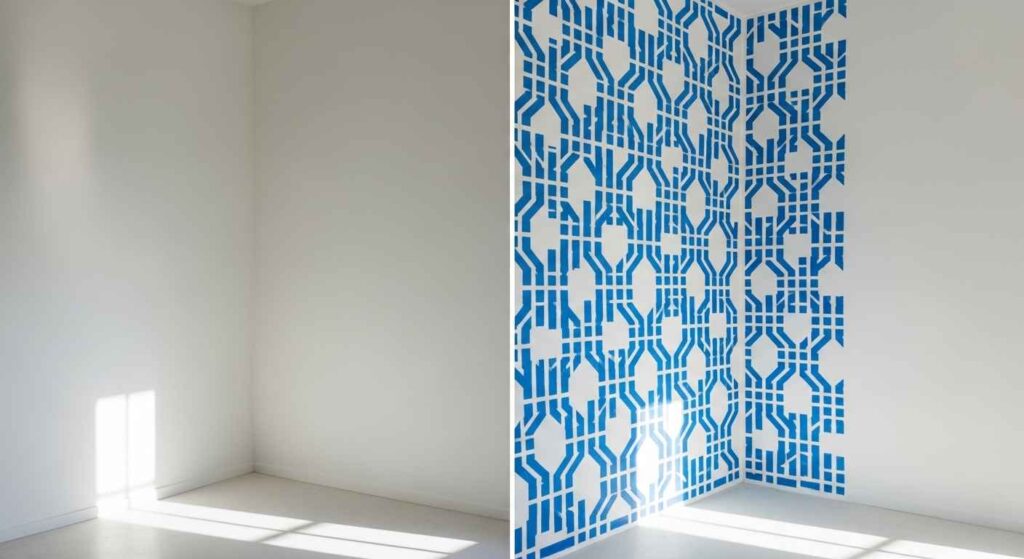
Stencils create a custom, professional look without breaking the bank. A single stencil can cover an entire wall by repeating the pattern. Designs like geometric shapes, florals, or damasks add style to any room. They’re great for small projects or large makeovers and require no advanced skills. Plus, they’re removable, making them renter-friendly.
Materials You’ll Need
Before starting, gather these supplies:
- Wall stencil (purchased or homemade)
- Latex paint (one base color, one for the pattern)
- Foam roller or stencil brush
- Painter’s tape
- Level
- Pencil
- Paint tray
- Paper towels
- Small brush for touch-ups
- Spray adhesive (optional)
How to Prepare Your Wall
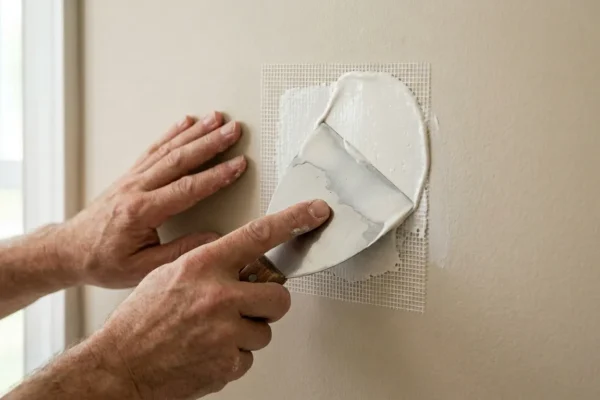
Start with a clean wall. Wipe away dust with a damp cloth and let it dry. Fill any holes with spackle and sand smooth. Apply two coats of your base color for even coverage. Let it dry for 24 hours to prevent peeling later.
Use a level and pencil to mark a straight vertical line down the wall’s center. This keeps your pattern aligned. If your ceiling slopes, follow the pencil line, not the ceiling edge.
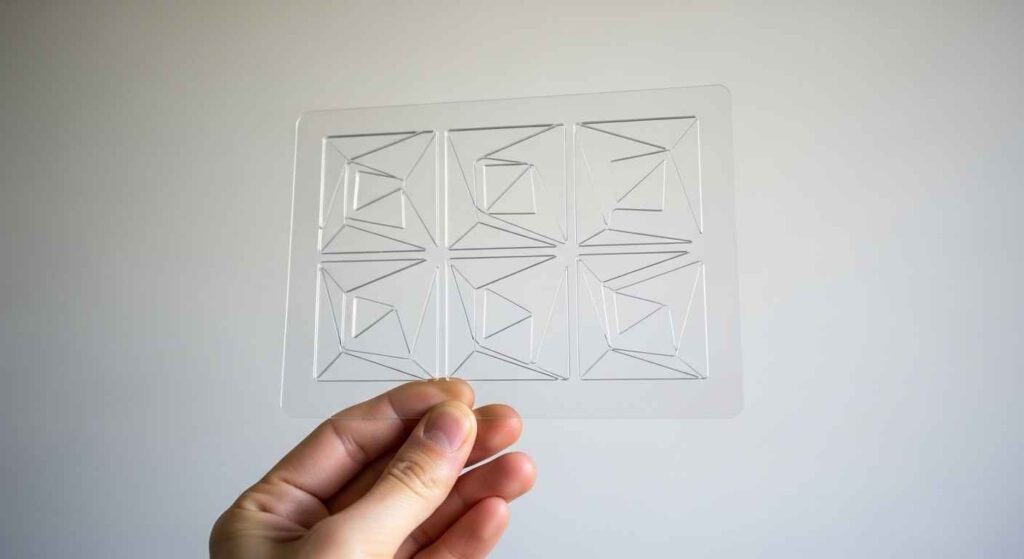
Choosing or Creating Your Stencil Design
Pick a pattern that suits your room. Beginners should stick to simple designs like tiles, herringbone, or damasks. You can buy reusable stencils from trusted sites like Cutting Edge Stencils or Royal Design Studio.
To make your own stencil:
- Print your desired design on paper.
- Tape it to a plastic sheet or cardstock.
- Trace the pattern with a marker.
- Cut out shapes using a craft knife on a cutting mat.
- Add registration marks to align repeats.
Homemade stencils are affordable and allow unique designs. Plastic sheets last longer than paper.
Step-by-Step Stenciling Process
Follow these steps for a clean, professional result:
- Secure the stencil to the wall with painter’s tape, starting at the top center. Align with your pencil mark. Optional: Apply spray adhesive for a tighter seal.
- Load a foam roller or stencil brush with paint. Blot excess on paper towels to avoid drips.
- Lightly roll or dab paint over the stencil, covering all open areas.
- Carefully peel off the stencil from the corners. Wipe any smudges with a damp cloth while paint is wet.
- Reposition the stencil next to the painted area, using registration marks to align. Repeat across the row.
- Work row by row downward. Stagger if paint needs drying time.
- For edges, trim the stencil with scissors and use a small brush for gaps.
- Touch up any imperfections after the paint dries.
Expect 10-15 hours for an accent wall. Take your time for crisp lines.
Tips to Prevent Common Mistakes
Use minimal paint to avoid bleed. Clean the stencil with soap and water if it gets sticky. Step back often to check your work and fix errors early. For textured walls, press the stencil firmly and use a sponge applicator for better control. If paint peels, the base coat wasn’t dry—wait longer next time. For large walls, consider two stencils to swap when one gets wet.
For more wall decor ideas, check our accent wall design guide.
Answers to Common Stencil Questions
What if paint bleeds under the stencil? Use less paint and secure edges tightly with tape or adhesive.
Can I stencil on textured walls? Yes, it adds depth. Use a dabbing motion for best results.
How do I clean a stencil? Rinse with water and dry flat to reuse.
Where should I start stenciling? Begin at the top corner and work downward to catch drips.
Is stenciling hard for beginners? No, it’s simple with practice. Test on cardboard first.
Learn more about choosing paints in our paint finish guide.
Enhance Your Space with Stencils
Combine stencils with bold or subtle color schemes. A light base with a dark pattern creates drama, while tone-on-tone gives a soft look. Stencils work in bedrooms, offices, entryways, or even on furniture for a cohesive style.
For outdoor inspiration, see our pergola design ideas. For more DIY furniture projects, visit our reclaimed wood table guide.
Shop stencils at Cutting Edge Stencils or Royal Design Studio. Choose paints from Sherwin-Williams for quality results.
Final Thoughts
DIY stencil wall art is an affordable way to personalize your home. With basic tools and patience, you can create a stunning look. Start with a small project if you’re new, and soon your walls will reflect your style. Try it today and see the difference!


Leave a Reply