
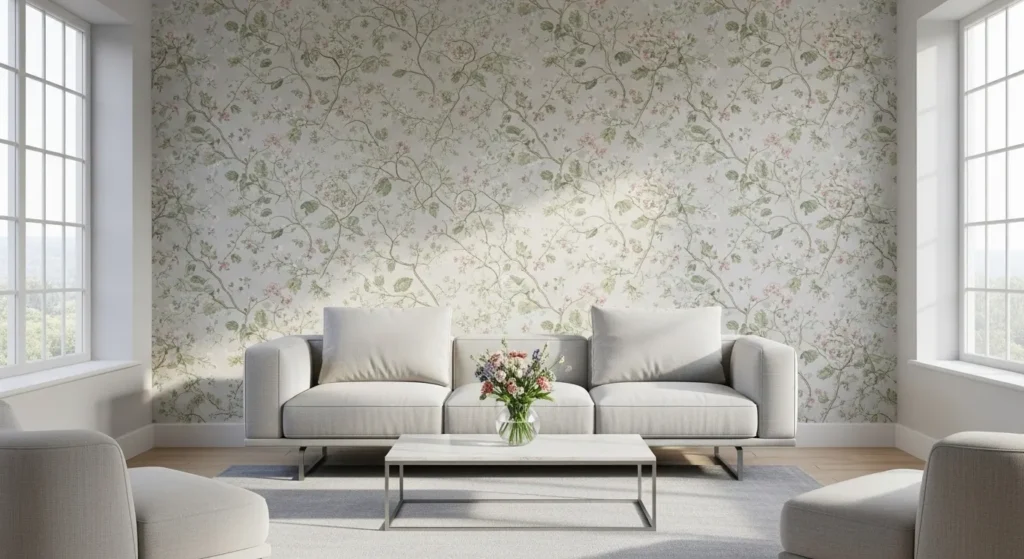
Wallpaper can completely change a room’s look, but many people avoid it because they think it’s too hard. The truth is, with the right tricks, anyone can install and remove wallpaper like a pro. These DIY wallpaper hacks will help you get perfect results without hiring expensive contractors.
Why These Wallpaper Hacks Work
Professional wallpaper installers use specific techniques to avoid common mistakes. The key to perfect wallpapering is careful planning and execution, but you don’t need years of experience to get great results. These proven methods help you skip the learning curve and avoid costly errors.
Preparation Hacks That Prevent Problems
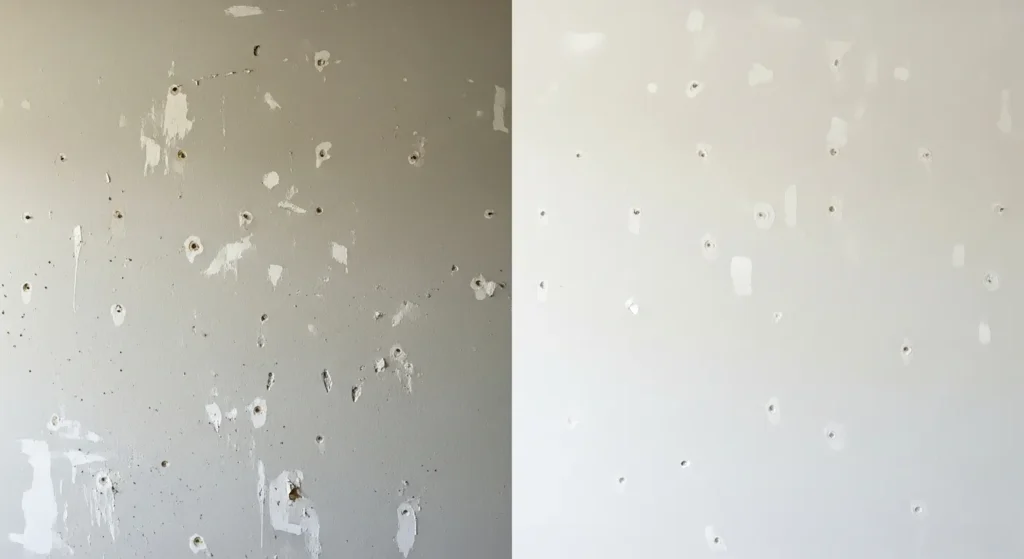
Clean Your Walls Properly
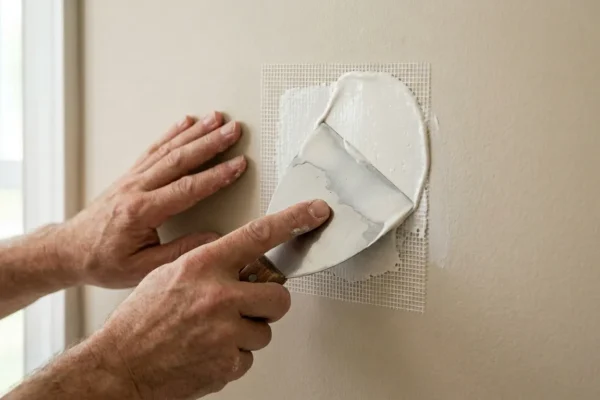
Grab your swiffer and make sure the walls are clean of dust and debris. Any large holes should be patched. A clean surface will ensure the wallpaper and glue have better adhesion.
Use these steps:
- Wipe walls with a damp microfiber cloth
- Fill small nail holes with spackling paste
- Sand down glossy paint surfaces lightly
- Let walls dry completely before starting
Prime When Needed
If you’re wallpapering on plaster, plasterboard or wood, apply a universal primer the day before so the wall can get a good grip of the wallpaper. This step prevents the wallpaper from peeling later.
Installation Hacks for Perfect Results
The Fabric Softener Removal Trick
If you need to remove old wallpaper first, try this professional hack: “Mix equal parts of fabric softener and water before painting this across the surface of the wallpaper. Fabric softener helps to break down the wallpaper glue, helping the wallpaper come off much more easily.”
Work in Small Sections
Remove the wallpaper backing in sections—about 1 foot at a time. This helps prevent the paper from sticking to itself, which can cause wrinkles, tears, and stretching in your wallpaper.
Here’s the step-by-step process:
- Measure and mark your first strip
- Remove only 12 inches of backing paper
- Apply that section to the wall
- Smooth out air bubbles as you go
- Repeat until the full strip is applied
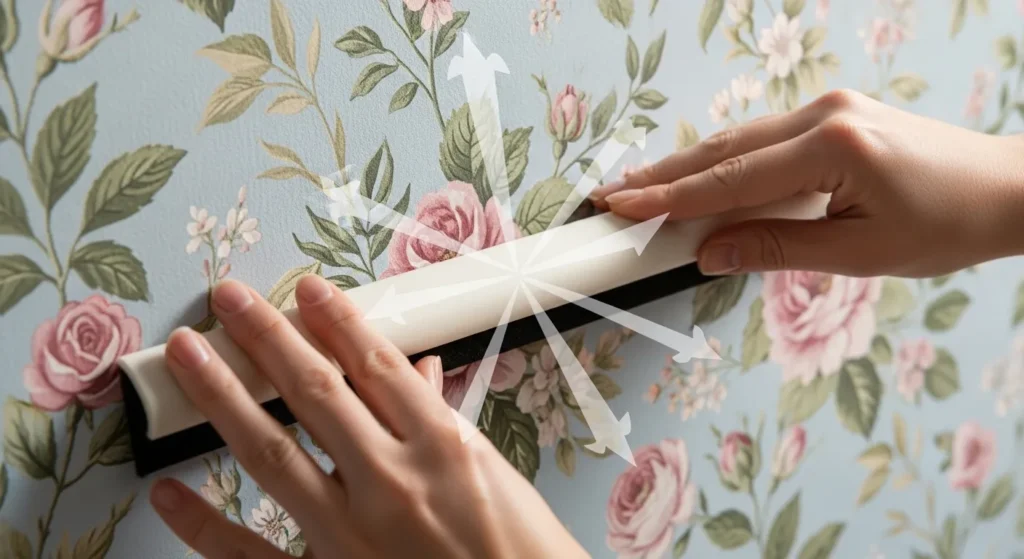
Bubble-Free Application Method
As you apply the wallpaper, use a smoothing tool to push out any air bubbles. The trick is to work from the center of the wallpaper outwards to gently persuade those air bubbles to make an exit towards the edges.
Avoid Stretching the Paper
If your peel-and-stick wallpaper is vinyl (most are), be careful about tugging on it because it will stretch. For example, on my first few strips of wallpaper, I was holding onto the edges very tightly, tugging a bit to keep everything straight and lined up. The wallpaper stretched where my fingers gripped it.
Instead:
- Handle the wallpaper gently
- Support the weight from multiple points
- Don’t pull on edges to straighten
- Reposition by lifting and placing, not dragging
Budget-Friendly Wallpaper Alternatives
DIY Decal Wallpaper
For decal wallpaper, it’s a pretty broad range of skill level options, so you can choose what works best for you! Easiest: Buy pre-cut decals (like these) and stick them on your wall! Medium: Buy your own vinyl and cut out an easy shape with scissors to stick on (think dots, confetti shapes).
This method costs a fraction of traditional wallpaper and works great for accent walls. You can create patterns with:
- Geometric shapes
- Dots and circles
- Simple botanical designs
- Abstract patterns
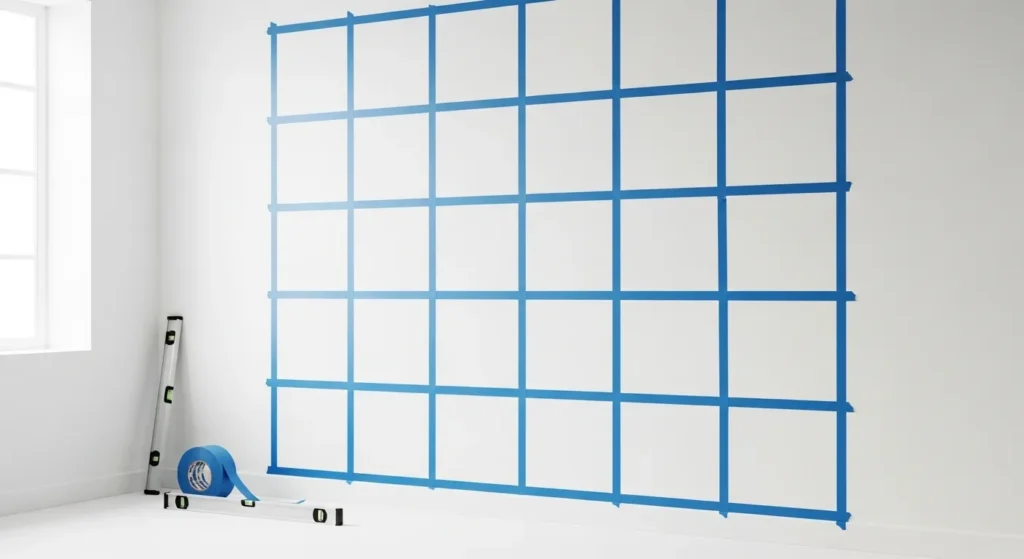
Making Regular Wallpaper Removable
Applying the wallpaper on the tape helped to make it quickly removable when ready to leave the apartment. This method catered to renters and looked like it had some good results based on the posts I read.
This hack involves:
- Creating a grid pattern with painter’s tape
- Applying wallpaper over the tape
- Easy removal by peeling off tape and paper together
Perfect for renters who want to decorate without losing their security deposit.
Professional Installation Tips
Order Extra Material
Add 15 percent more to your order than you calculated — you don’t want to run out mid-installation. Nothing ruins a wallpaper project faster than running out of paper halfway through.
Remove Outlet Covers First
You’ll also need to remove outlet and switch covers and move furniture out of the way. This simple step makes installation much cleaner and more professional-looking.
Use Heat for Stubborn Removal
If the wallpaper is being stubborn, hit it with some gentle heat from a hair dryer. The heat softens the adhesive and makes removal much easier.
Common Mistakes to Avoid
Don’t Skip Surface Prep
Take your wide putty knife and scrape off any obvious protrusions in the texture, just the ones that really stand out. This will keep those protrusions from sticking out like sore thumbs through your finished wallpaper.
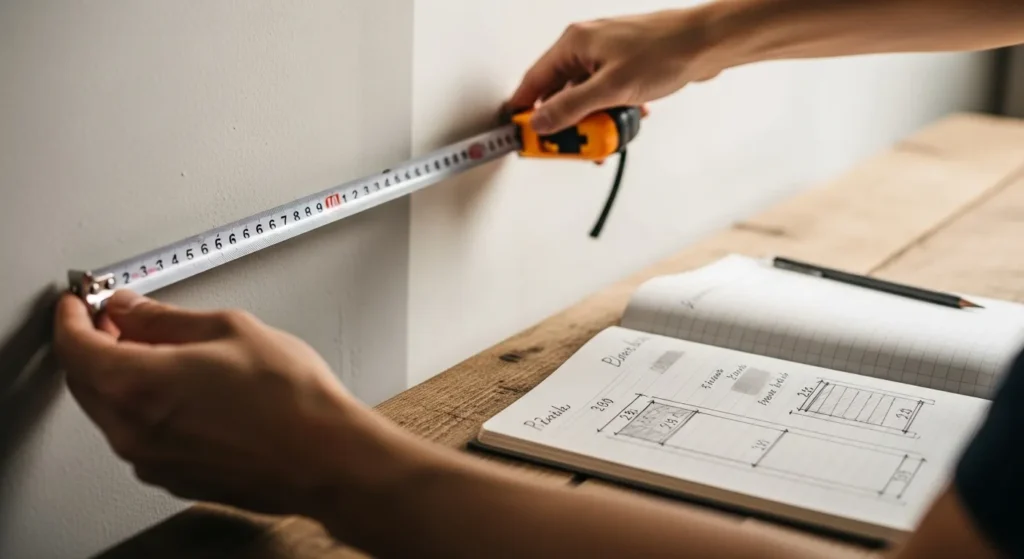
Measure Twice, Cut Once
Poor planning leads to pattern mismatches and wasted material. Always:
- Measure each wall carefully
- Plan where patterns will line up
- Start with the most visible wall
- Work away from natural light sources
Don’t Rush the Process
Take your time with each step. Rushed wallpaper jobs always show mistakes that could have been avoided with patience.
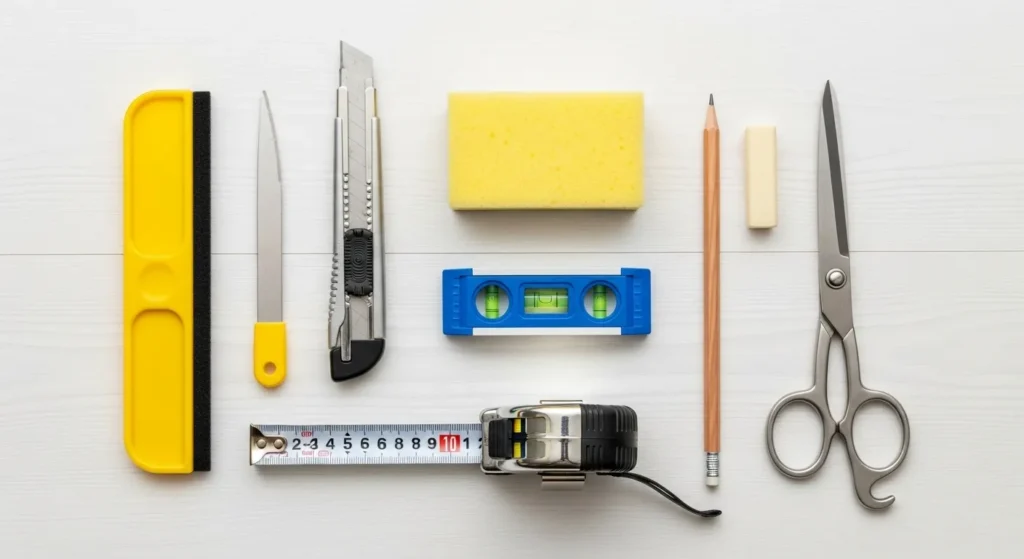
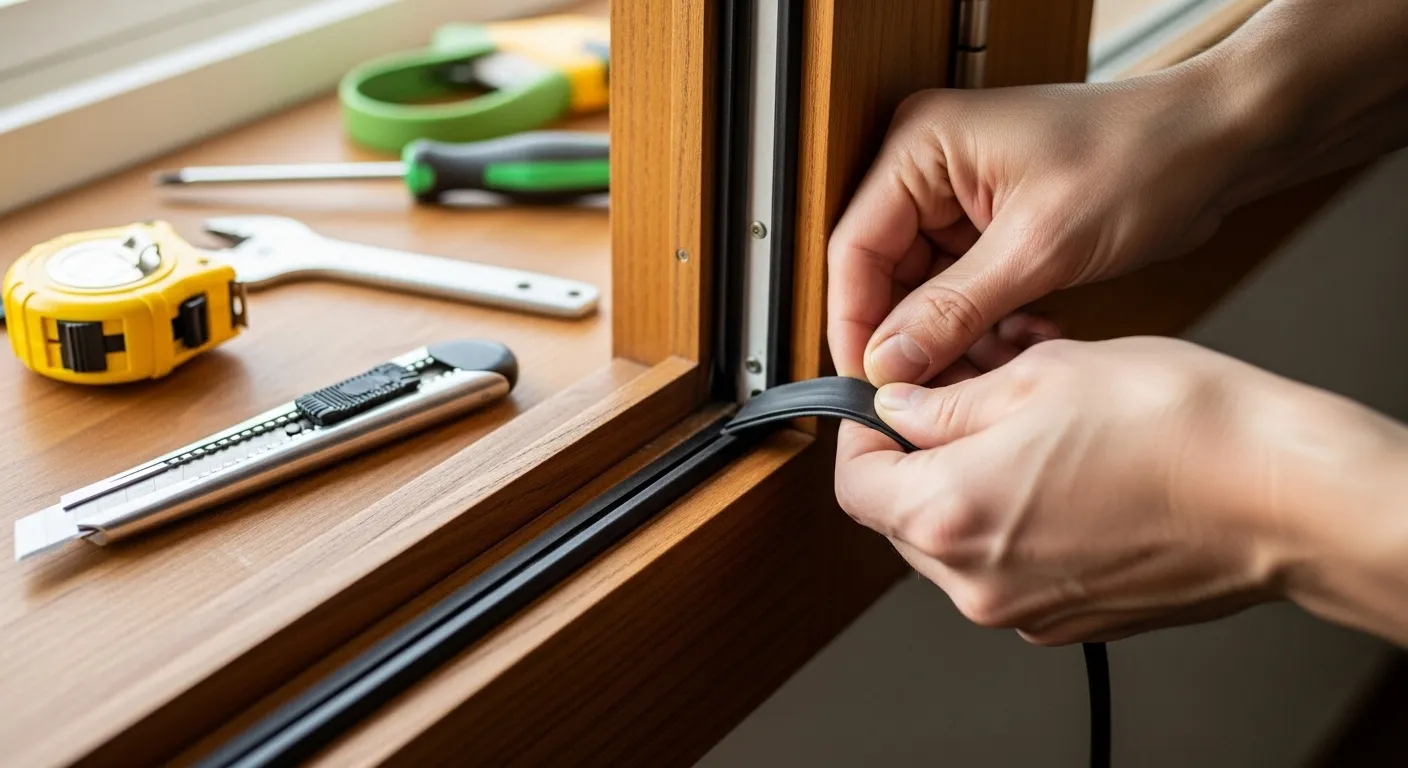
Tools You Actually Need
Keep it simple with these essential tools:
- Sharp utility knife (replace blades often)
- Smoothing tool or clean cloth
- Measuring tape
- Level
- Pencil for light marking
- Clean sponge
- Step ladder
You don’t need expensive specialty tools for great results.
When to Call a Professional
Some situations require professional help:
- Complex patterns that need perfect matching
- High-traffic commercial spaces
- Textured walls that need special prep
- Ceilings and stairwells
- Expensive designer wallpaper
Maintenance and Care Tips
Keep your wallpaper looking fresh:
- Dust regularly with a soft brush attachment
- Clean stains immediately with a damp cloth
- Avoid harsh chemicals
- Fix loose edges promptly with wallpaper adhesive
Read Also:
- DIY Pallet Furniture Ideas Save Money
- 7 Genius DIY Hacks to Banish Stubborn Stains Fast
- Closet Organization Ideas Small Spaces
Final Thoughts
Wallpaper doesn’t have to be intimidating. With these proven hacks, you can achieve professional-looking results on your first try. Start with a small accent wall or powder room to build confidence, then tackle larger spaces.
Remember: preparation prevents problems, patience prevents mistakes, and the right techniques make all the difference. Your walls will thank you, and so will your wallet.
Ready to start your wallpaper project? These hacks will help you get results that look professionally installed, even if you’ve never hung wallpaper before.
Leave a Reply