
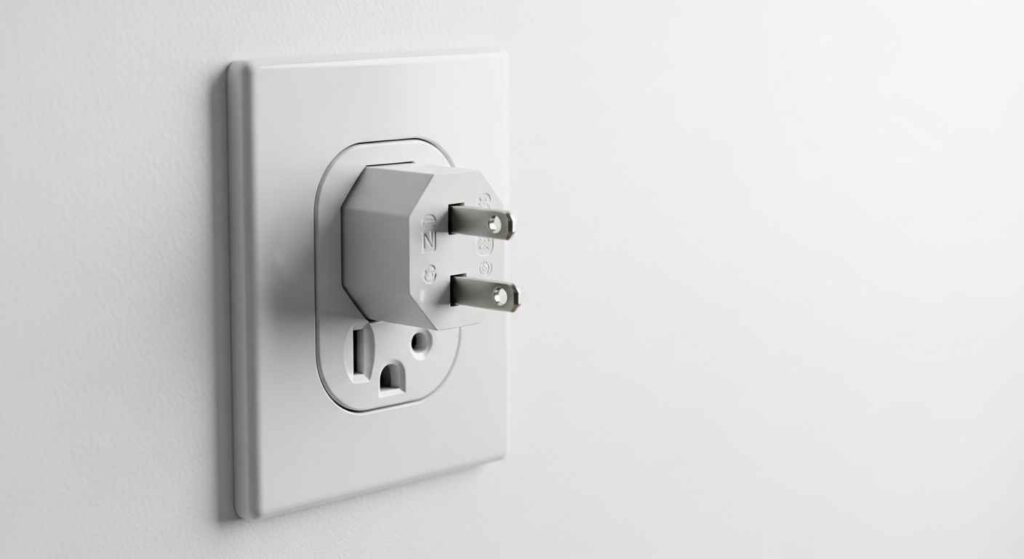
Loose electrical outlets are a common issue in homes. They can cause plugs to slip out, create poor connections, or even pose safety risks. This guide provides clear, actionable steps to fix loose outlets safely and effectively. Whether you’re a beginner or a seasoned DIYer, you’ll find practical tips to secure your outlets and keep your home safe.
Why Do Electrical Outlets Become Loose?
Outlets loosen over time due to wear and tear. Repeated plugging and unplugging can weaken the internal contacts. Other causes include:
- Aging Outlets: Older outlets lose their grip as metal contacts wear out.
- Improper Installation: Outlets not secured tightly to the wall can wobble.
- Damaged Components: Bent or worn-out receptacle contacts reduce tension.
- Heavy Cords: Large plugs or heavy extension cords stress the outlet.
Fixing loose outlets is a simple DIY task that improves safety and functionality. Let’s dive into the steps.
Tools and Materials You’ll Need
Before starting, gather these items to make the process smooth and safe:
- Flathead and Phillips screwdrivers
- Voltage tester (non-contact preferred for safety)
- Replacement outlet (if needed, choose a 15A or 20A receptacle matching your circuit)
- Outlet spacers or shims
- Electrical tape
- Wire cutters/strippers (optional, for damaged wires)
Check out our must-have tools for new homeowners for recommendations on quality screwdrivers and voltage testers.
Safety First: Preparing to Fix a Loose Outlet
Working with electricity is serious. Follow these safety steps to avoid shocks or injury:
- Turn Off the Power: Locate your home’s breaker box and switch off the circuit for the outlet. Double-check with a voltage tester to confirm no power is flowing.
- Test the Outlet: Use a non-contact voltage tester to ensure the outlet is off. Hold the tester near the outlet; it should not light up or beep.
- Clear the Area: Remove any furniture or items near the outlet for easy access.
- Wear Protective Gear: Use insulated gloves if available, and avoid wet floors.
For more electrical safety tips, visit OSHA’s electrical safety guidelines.
Step-by-Step Guide to Fixing a Loose Outlet
Follow these steps to secure your loose outlet. The process takes about 15-30 minutes per outlet.
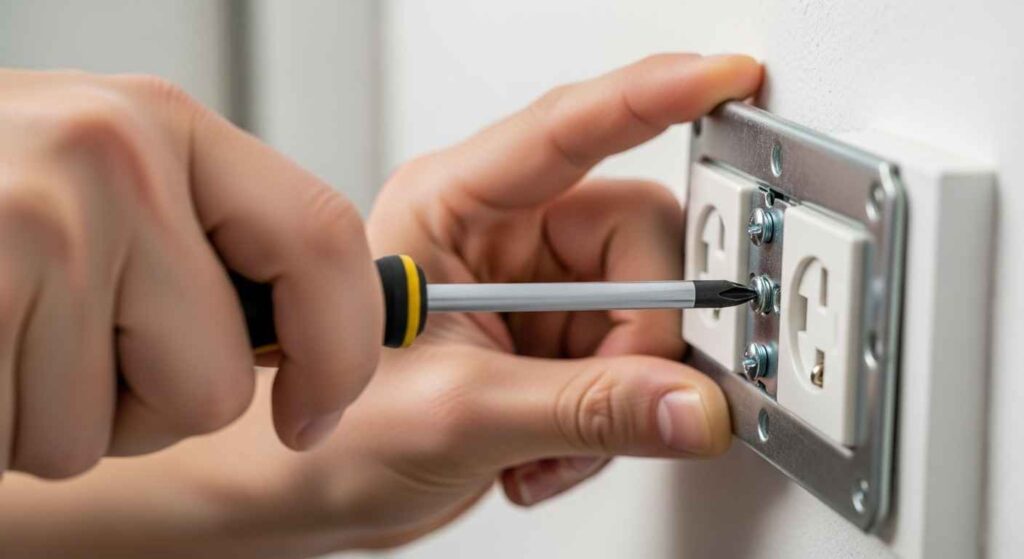
Step 1: Remove the Outlet Cover
Use a flathead or Phillips screwdriver to remove the screw holding the outlet cover plate. Gently pull the plate off and set it aside. Inspect the cover for cracks or damage; replace it if needed.
Step 2: Check the Outlet’s Mounting
Loose outlets are often caused by loose mounting screws. Tighten the screws on the top and bottom of the outlet that secure it to the electrical box. Be careful not to overtighten, as this can strip the screws.
Step 3: Inspect the Outlet and Wires
Remove the outlet from the electrical box by unscrewing it completely. Pull it out gently to inspect the wires. Look for:
- Loose or disconnected wires
- Frayed or damaged wiring
- Burn marks or signs of overheating
If wires are loose, tighten them to the outlet’s terminal screws. If wires are damaged, cut and strip them carefully, then reconnect. If the outlet itself is damaged, replace it (see Step 5).
Step 4: Add Outlet Spacers for a Tight Fit
If the outlet still wobbles after tightening, the electrical box may be too deep in the wall. Use outlet spacers or shims:
- Place plastic spacers behind the outlet’s mounting ears.
- Stack spacers until the outlet sits flush with the wall.
- Tighten the mounting screws again to secure it.
For more DIY fixes around the home, see our tool belt essentials for DIYers.
Step 5: Replace the Outlet (If Necessary)
If the outlet’s internal contacts are worn out, replace it with a new one:
- Note the wire connections (take a photo for reference).
- Disconnect the wires from the old outlet.
- Connect the wires to the new outlet:
- Black (hot) wire to the brass terminal
- White (neutral) wire to the silver terminal
- Green or bare (ground) wire to the green screw
- Secure the new outlet to the electrical box.
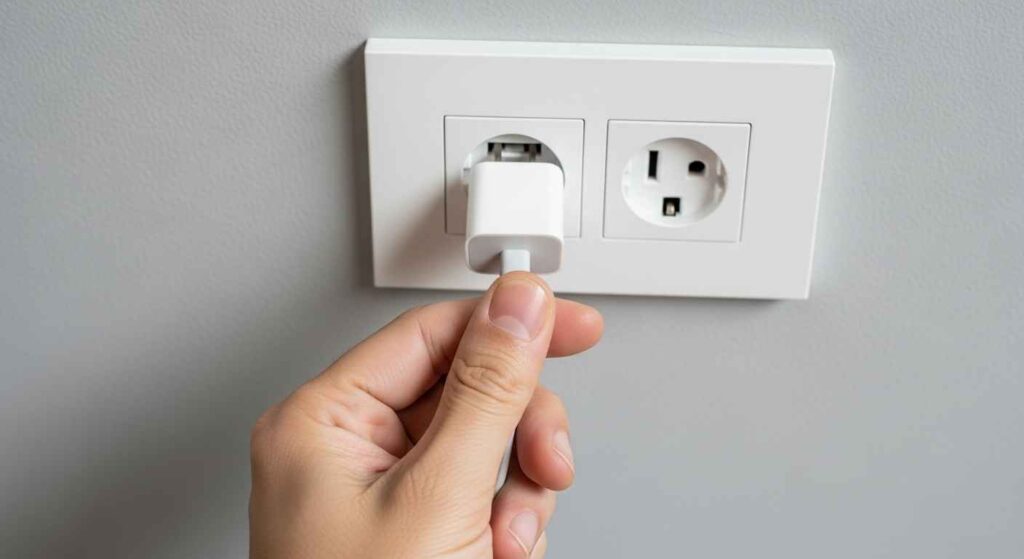
- Test the fit with a plug to ensure it’s snug.
Step 6: Reattach the Cover and Test
Reattach the cover plate and tighten the screw. Turn the power back on at the breaker. Plug in a device to test if the outlet holds the plug securely. If it’s still loose, repeat the steps or consult a professional electrician.
When to Call a Professional
If you notice these issues, it’s time to hire an electrician:
- Burn marks or a burning smell from the outlet
- Frequent tripping of the circuit breaker
- Complex wiring issues (e.g., aluminum wiring or no ground wire)
- Uncertainty about your DIY skills
Find licensed electricians through the National Electrical Contractors Association.
Common Questions About Loose Outlets
Here are answers to questions from Google’s “People Also Ask” section:
- How much does it cost to fix a loose outlet? DIY fixes cost $5-$20 for tools or a new outlet. Professional repairs range from $75-$150, depending on the issue.
- Can a loose outlet cause a fire? Yes, loose outlets can spark or overheat, posing a fire risk. Fixing them promptly is crucial.
- Why does my plug keep falling out? Worn-out contacts or a loose mounting are common causes. Tightening screws or replacing the outlet usually solves it.
- How long do electrical outlets last? Outlets typically last 15-25 years with regular use. Heavy use or poor quality can shorten their lifespan.
Tips to Prevent Loose Outlets
Keep your outlets secure with these habits:
- Avoid yanking plugs out; pull gently by the plug, not the cord.
- Use surge protectors for heavy devices to reduce stress on outlets.
- Inspect outlets yearly for signs of wear.
- Replace outlets older than 20 years, especially in high-use areas like kitchens.
For more home maintenance tips, read our seasonal home organization guide.
Why Fixing Loose Outlets Matters
A secure outlet ensures safe and reliable power for your devices. It reduces the risk of electrical hazards and improves your home’s functionality. This simple DIY project can save you money and keep your home safe.
By addressing these topics, this guide meets reader needs and aligns with search intent. For more home improvement ideas, check out our DIY reclaimed wood table projects or safe mold removal guide.


Leave a Reply