Mold can appear within 24 to 48 hours of a moisture problem. Once it starts growing, it doesn’t stop on its own. Left untreated, it rots wood, destroys drywall, triggers respiratory problems, and spreads to adjacent surfaces fast.
The good news: most household mold problems are fixable without a professional. You just need the right safety gear, the correct cleaning solution for the surface, and a process that actually eliminates the growth instead of spreading spores around.
This guide covers all of it — from identifying what you’re dealing with, to knowing exactly when to call someone else.
Mold vs. Mildew: Know the Difference Before You Start
These two words get used interchangeably, but they’re not the same thing.
Mildew is a surface-level fungus. It sits on top of materials — typically shower walls, window sills, or fabric — and looks powdery or downy, usually white or gray. It’s easier to remove and rarely causes structural damage.
Mold grows deeper. It penetrates porous materials like drywall, wood, and grout. It appears in darker colors — green, black, or brown — and can produce a musty odor even before you see visible growth. Some species, including Stachybotrys chartarum (black mold), produce mycotoxins that pose real health risks.
Why this matters for cleanup: Mildew wipes off with a damp cloth and a basic cleaner. Mold requires more aggressive treatment, and in some cases, the material itself needs to be replaced.
Is It Safe to Remove Mold Yourself?
For most homeowners, yes — with limitations.
The EPA’s 10 Square Foot Rule
The EPA’s standard threshold is clear: if the affected area is less than 10 square feet (roughly a 3×3 foot patch), you can handle it yourself. Beyond that, you should consult a certified mold remediation professional.
Size isn’t the only factor. Call a professional if:
- The mold is near or inside your HVAC system. Do not run the system if you suspect contamination — it will spread spores throughout every room.
- The damage came from sewage or contaminated flood water.
- You’ve cleaned the same area more than twice and it keeps returning within days.
- You can smell mold but can’t find the source — hidden mold behind walls or under flooring requires professional inspection.
If you’re planning a larger repair, like replacing mold-damaged drywall, our drywall repair guide walks through the patching process once the affected material is removed.
Who Should Never Handle Mold Cleanup
According to the CDC, certain people face serious health risks from mold exposure and should not participate in cleanup at all:
- People with asthma or COPD
- Anyone with a compromised immune system
- People with chronic respiratory disease
- Those with mold allergies
If you fall into any of these categories, leave the area during cleanup and for several hours afterward.
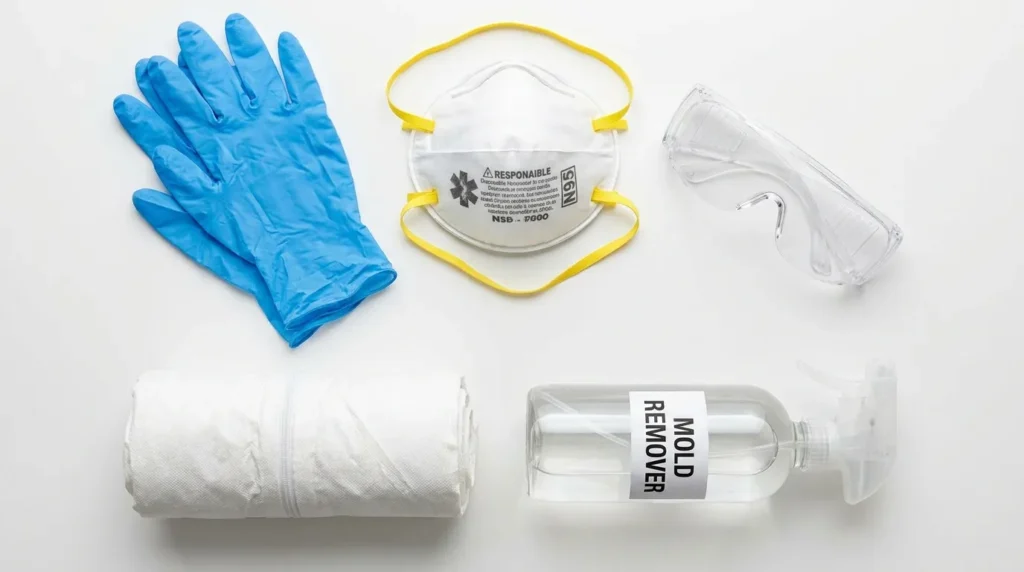
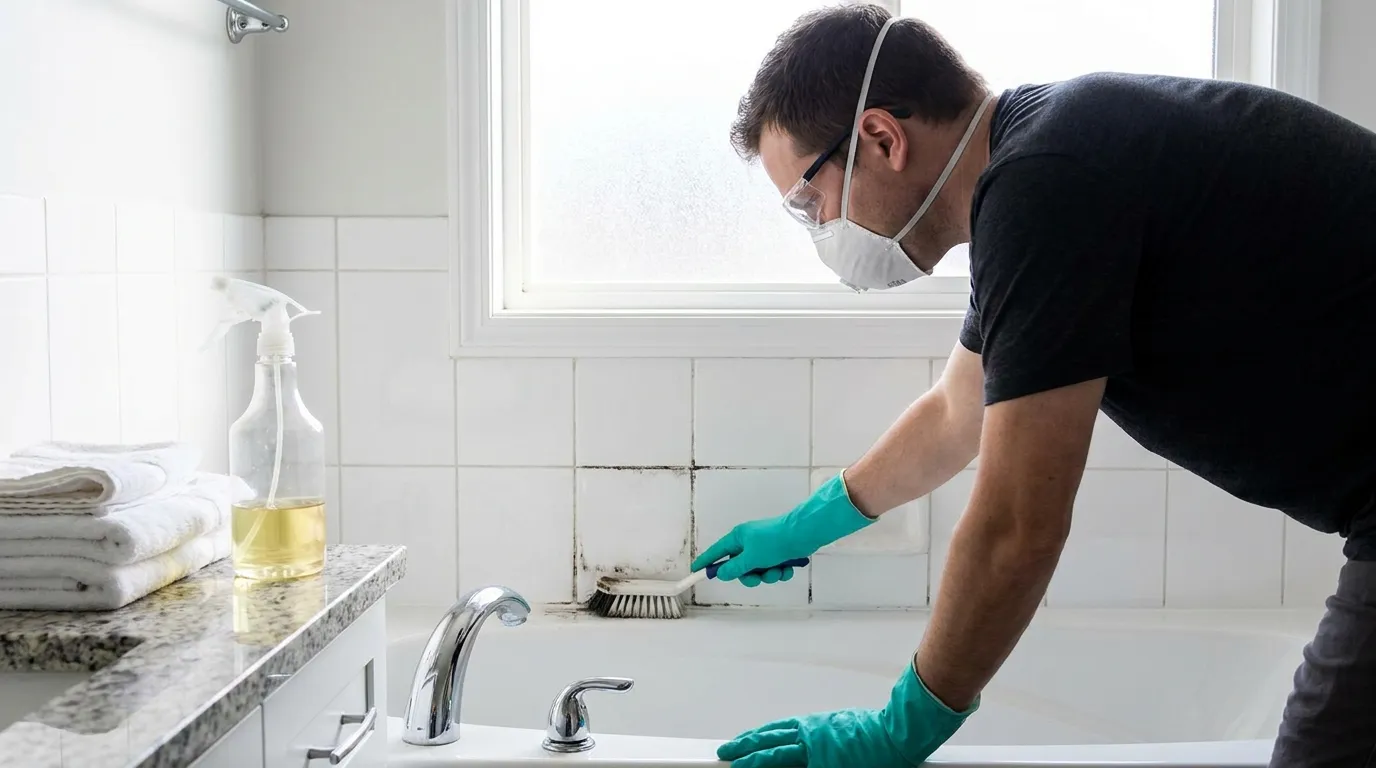
Safety Gear You Need Before You Start
Never start cleaning mold without protection. Disturbing mold releases spores into the air. Once airborne, they’re inhaled and can settle on skin and eyes.
Respiratory Protection
Wear at minimum a NIOSH-approved N95 respirator. Standard dust masks don’t filter mold spores. For larger jobs — anything involving ripping out drywall, sanding wood, or extended exposure — upgrade to a half-face or full-face respirator.
Open windows and doors before you start. Ventilation reduces spore concentration in the air.
Gloves and Eye Protection
Wear non-latex gloves — nitrile, vinyl, or rubber. Bare hands should never contact mold or any surface cleaned with bleach.
For eye protection, wear sealed goggles with no ventilation holes. Standard safety glasses leave gaps. So do vented goggles — mold spores and chemical splashes can still reach your eyes through open vents.
For a full breakdown of protective gear for DIY projects, the safety goggles and gloves guide covers fit, ratings, and when to upgrade.
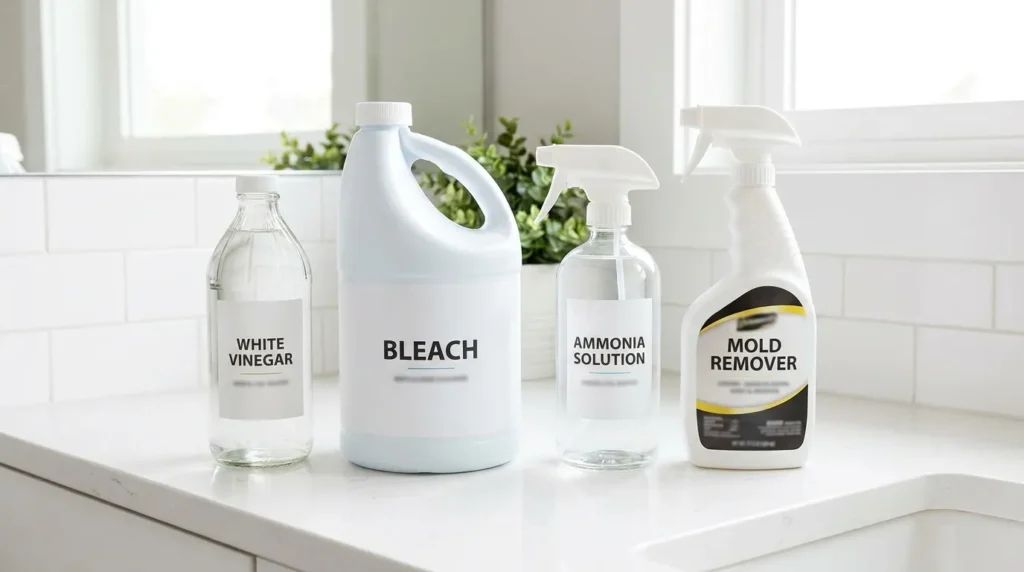
Best Cleaning Solutions for Mold and Mildew
Different surfaces need different solutions. Using the wrong one either won’t work or will damage the material.
Bleach Solution — Best for Non-Porous Surfaces
Bleach kills mold on hard, non-porous surfaces: ceramic tile, glass, tubs, sinks, and countertops.
Ratio: 1 cup of household bleach per 1 gallon of water (CDC-recommended concentration).
Apply it to the surface and do not rinse. Leaving the solution on lets it continue working. For exterior surfaces like siding or decks, use a stronger ratio of 1 part bleach to 10 parts water, let it sit for 10–20 minutes, scrub, then rinse with a garden hose.
Critical: Bleach does not penetrate porous materials. It will lighten the surface stain on drywall or wood but will not kill mold growing below the surface.
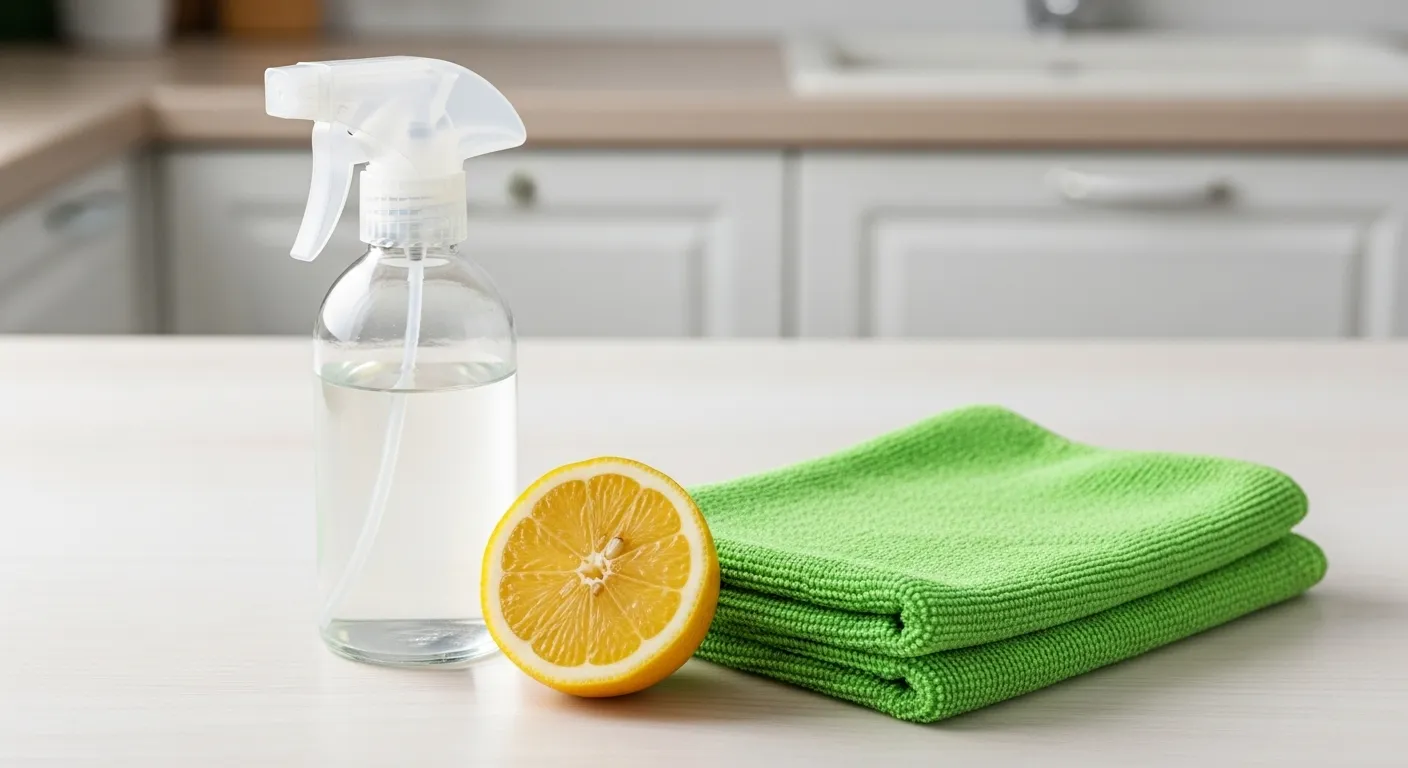
White Vinegar — Best Natural Option
Undiluted white vinegar (5% acidity) kills approximately 82% of mold species. Apply directly to the surface, let it sit for at least 1 hour, then scrub and wipe clean.
It’s safe for most surfaces, has no toxic fumes, and works reasonably well on both porous and non-porous materials. It won’t bleach surfaces or damage grout. The smell dissipates within a few hours.
For more chemical-free cleaning approaches, see this roundup of natural cleaning products that actually work.
Ammonia Solution
Mix a 50/50 solution of ammonia and water. Apply, wait 2–3 hours, then rinse. Effective on hard non-porous surfaces, similar to bleach.
Do not use ammonia on porous materials like wood.
Commercial Fungicide Cleaners
Products formulated specifically with fungicide active ingredients penetrate deeper than bleach or vinegar. They’re worth using on grout, wood, and any surface with recurring mold problems.
What Never to Mix
Never combine bleach with ammonia, vinegar, or any other household cleaner. Mixing bleach and ammonia produces chloramine gas — toxic, fast, and potentially fatal in an enclosed space. No exceptions.
How to Remove Mold From Specific Surfaces
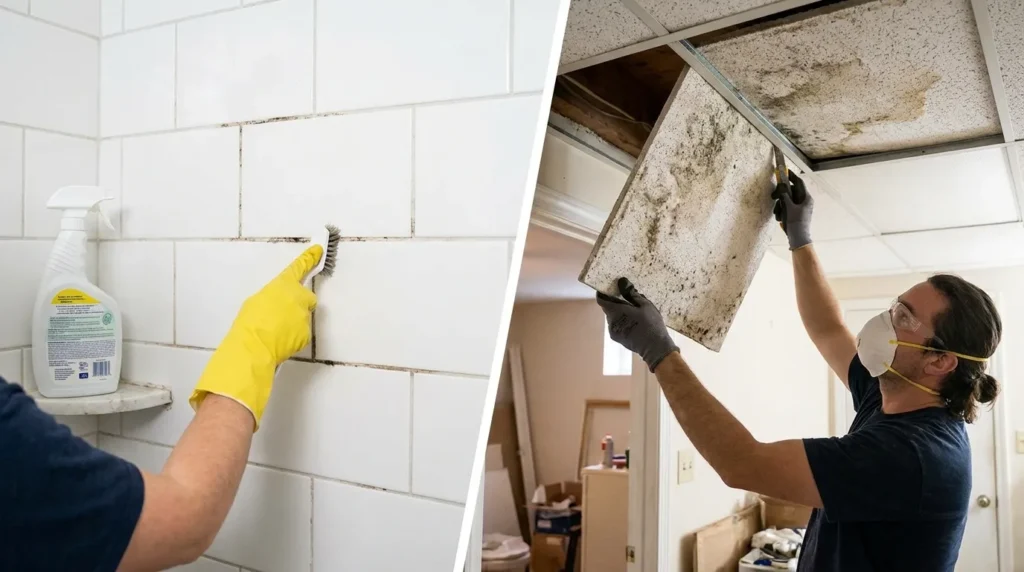
Bathroom Tile and Grout
Grout is porous. Bleach solution lightens the stain but often doesn’t fully eliminate mold growing inside the grout. Use a commercial fungicide or apply undiluted vinegar for better penetration.
Use a stiff-bristled grout brush to scrub along the grout lines. Rinse thoroughly. Dry the area completely — mold regrows within 24–48 hours on wet surfaces.
Increasing ventilation in the bathroom is the single most effective prevention step. Run an exhaust fan during and for 20 minutes after every shower. For a deeper bathroom maintenance routine, these bathroom deep cleaning hacks cover tile, grout, and fixtures in detail.
Walls and Drywall
Drywall is porous. If mold has penetrated the paper face, cleaning the surface isn’t enough — the material needs to be replaced.
For surface mold on painted drywall:
- Dry-brush the surface layer first to reduce active spore count.
- Apply your cleaning solution with a wrung-out cloth or sponge — not soaking wet.
- Scrub gently. Aggressive scrubbing damages the paper face.
- Wipe clean. Allow to dry completely with a fan or dehumidifier.
Do not paint over mold. Paint applied over mold will peel within weeks, and the mold continues growing underneath. Clean and fully dry the surface before any paint touches it.
Wood Surfaces
Wood requires a different approach. Start by sanding the moldy area with medium-grit sandpaper — this removes the top layer of mold before cleaning. Seal the work area and use a HEPA-filter vacuum to collect all sanding dust before it settles.
After sanding, clean with a detergent-and-water solution, then apply a fungicide. Let dry completely — wood must be fully dry before any sealing or refinishing.
If the wood shows signs of rot, cleaning won’t fix it. Rotted wood needs to be replaced. For floors, this guide to restoring water-damaged wood floors covers the assessment and repair process.
Exterior Surfaces (Siding, Decks, Soffits)
Use the 1:10 bleach-to-water ratio for exterior mold. Apply liberally, let sit for 10–20 minutes, then scrub with a stiff brush and rinse with a garden hose.
For large exterior areas, a pump garden sprayer makes application much faster than a hand spray bottle. Wear gloves and eye protection even outdoors — bleach splashback is common.
Address the underlying cause too. Mold on exterior siding usually means poor drainage, clogged gutters, or inadequate ground-to-siding clearance. External mold that reaches a wall cavity needs professional attention.
Ceiling Tiles and Carpet — When to Replace Instead
These are highly porous materials. Mold fills the internal structure and cannot be fully removed by surface cleaning.
Replace ceiling tiles if they show mold growth. It’s not worth the effort or the health risk.
Remove and discard carpet in any area with significant mold exposure, particularly after flooding. Mold spores embed in carpet fibers and the pad underneath, and cleaning only addresses the surface.
Step-by-Step Mold Removal Process
- Gear up fully — N95 respirator, sealed goggles, nitrile gloves — before entering the area.
- Ventilate — open windows and doors. Turn off the HVAC system if it serves the affected room.
- Contain loose materials — lay down plastic sheeting if you’re removing drywall or ceiling tiles to catch debris.
- Apply your cleaning solution to the affected area. Let it dwell for the appropriate time (1 hour for vinegar; 10–15 minutes for bleach).
- Scrub with a stiff brush for tile/grout/exterior or a cloth for drywall and painted surfaces.
- Rinse — except on non-porous surfaces treated with bleach (leave bleach solution on).
- Dry completely — use a fan, dehumidifier, or open air. The surface must be dry within 24 hours to prevent immediate regrowth.
- Dispose of all materials immediately (see below).
To stay on top of ongoing home maintenance beyond this cleanup, a cleaning schedule generator can help you build a routine that catches moisture problems before mold takes hold.
Safe Disposal After Cleanup
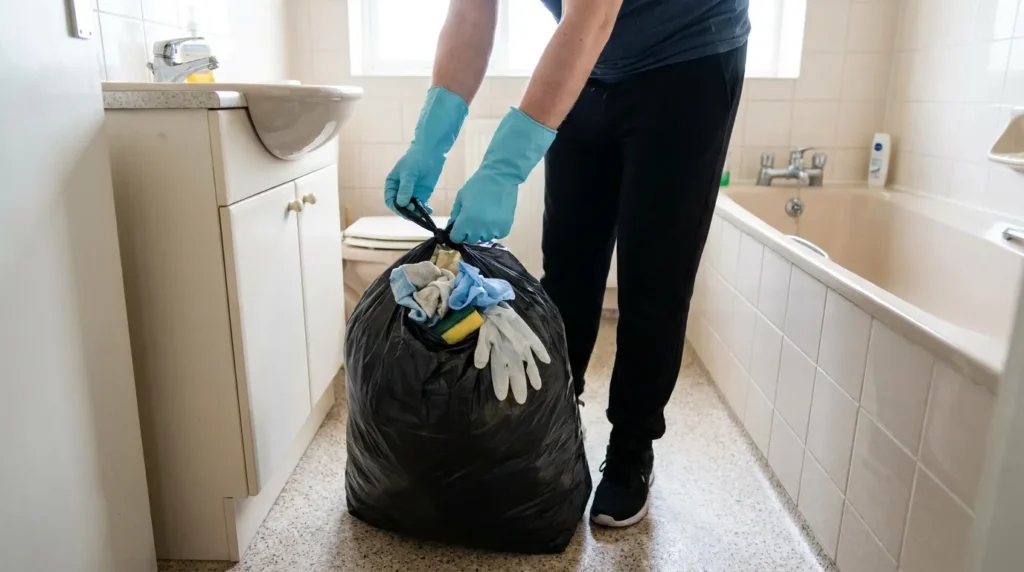
Every item that contacted mold — rags, sponges, ceiling tiles, disposable gloves — goes directly into a sealed plastic garbage bag. Tie it closed before leaving the work area.
Wash any reusable tools in hot water with soap or soak brushes in bleach solution for one hour before rinsing.
Wash your work clothes immediately after cleanup, separately from all other laundry, on the hottest water setting the fabric allows. Don’t leave them sitting in a hamper — mold spores will transfer to other items.
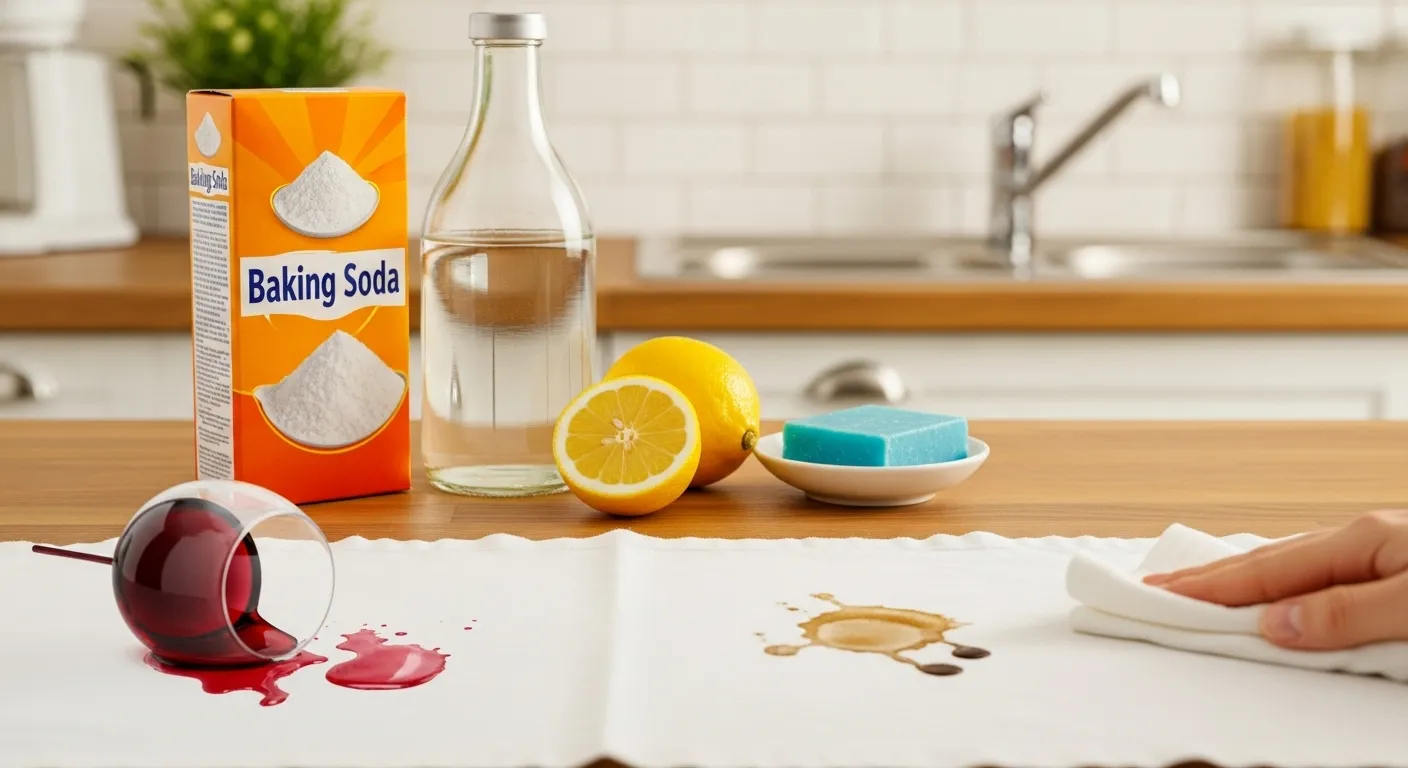
For stubborn stains left behind after mold cleanup, this guide to DIY homemade stain removers covers surface-safe options that won’t interfere with paint or finishes.
How to Prevent Mold and Mildew from Coming Back
Cleaning mold without fixing the moisture source is a temporary solution. It will return.
Control Humidity — Target Below 50% RH
Mold thrives above 60% relative humidity. Keep indoor humidity between 30% and 50% year-round. A basic hygrometer (under $15) lets you monitor levels in problem rooms.
Run a dehumidifier in basements, crawl spaces, or any room that consistently reads above 55% RH. Empty and clean the reservoir regularly — a dirty dehumidifier can itself become a mold source.
Fix Moisture Sources First
No cleaning regimen stops mold if the source stays active. Before anything else:
- Fix leaking pipes, roofs, or windows
- Seal basement cracks where groundwater seeps in
- Replace failing caulk around tubs, showers, and sinks
- Make sure your AC filters are clean — a clogged filter reduces airflow and raises indoor humidity
If a plumbing leak caused the mold, address the leak completely. Check common home plumbing repairs for fixing the source yourself before moisture spreads further.
Improve Ventilation
Stagnant, humid air is where mold begins. Run bathroom exhaust fans for at least 20 minutes after showers. Use kitchen exhaust fans when cooking or boiling water. In rooms with no exhaust fan, open windows when weather permits.
For basements and crawl spaces without mechanical ventilation, install exhaust fans or consult an HVAC professional about improving air exchange. Before any major ventilation work, inspect and clean your dryer vents — blocked dryer vents add significant moisture load to indoor air.
Final Thoughts
Mold removal isn’t complicated, but it requires the right approach at every step. Skipping the safety gear, using bleach on the wrong surface, or painting over active mold are the three most common mistakes that turn a fixable problem into a recurring one.
Follow the EPA’s 10 square foot threshold. Use the correct solution for the surface. Fix the moisture source. And dry the area completely within 24 hours of cleaning.
If you’re dealing with a larger infestation, hidden mold, or contaminated water damage, bring in a certified IICRC professional. The cost of proper remediation is far less than the cost of structural damage or ongoing health exposure.
Leave a Reply