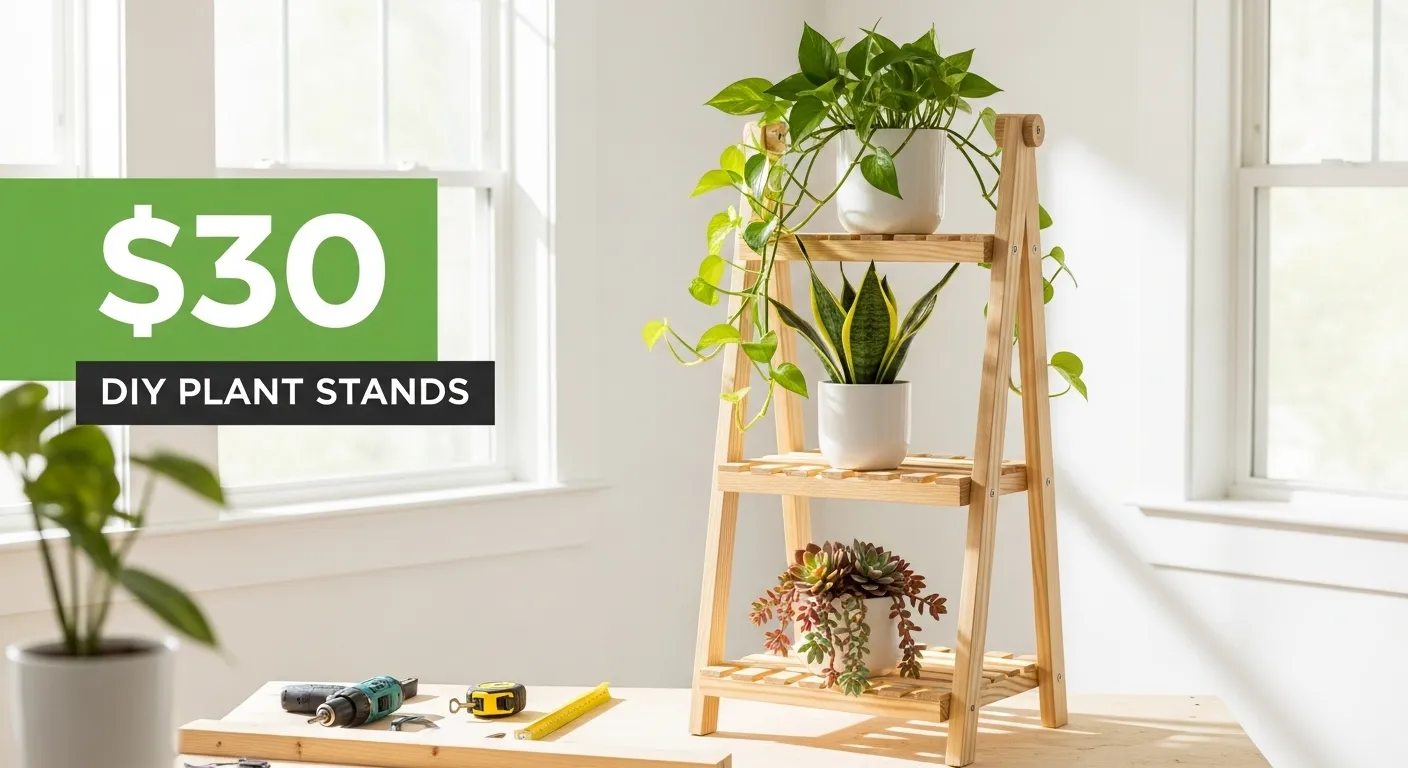
DIY plant stands are the perfect solution for displaying your houseplants while saving money. Building your own plant stands costs 70% less than buying ready-made ones. Most projects require basic tools and can be completed in a weekend. Whether you need stands for indoor plants or outdoor garden displays, these simple projects will help you create beautiful plant displays on any budget.
Why Build Your Own Plant Stands?
Creating your own plant stands offers several advantages over buying commercial options. You can customize the size, height, and style to match your home decor. Most DIY plant stands cost between $10-30 to build, while store-bought versions often cost $50-150 or more.
Building plant stands also lets you use materials you already have. Old drawers, pallets, and scrap wood can become beautiful plant displays with minimal effort. You control the quality and can make stands that perfectly fit your space and plant collection.
Essential Tools and Materials
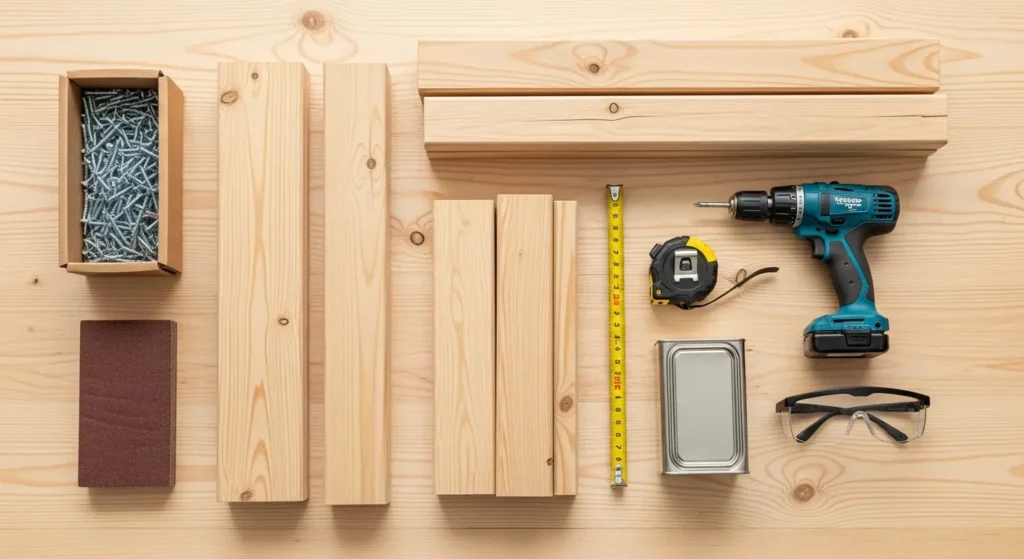
Basic Tools You’ll Need
Most plant stand projects require only basic tools that many homeowners already own:
- Drill with bits
- Circular saw or miter saw
- Measuring tape
- Level
- Screwdriver
- Sandpaper (120 and 220 grit)
Common Materials
The materials depend on your chosen design, but most projects use:
- Pine boards (1×4, 1×6, or 2×4)
- Wood screws (1.25″ and 2.5″)
- Wood glue
- Wood stain or paint
- Polyurethane finish
For outdoor stands, use cedar or pressure-treated lumber to resist weather damage. Indoor stands can use any wood type, making pine an affordable choice for beginners.
Top 10 Easy DIY Plant Stand Projects
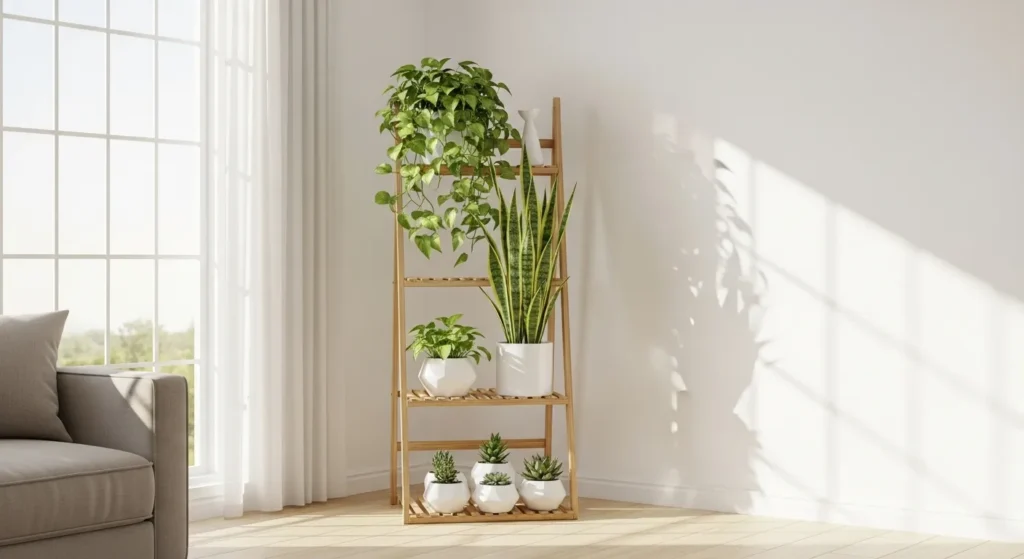
1. Simple Ladder Plant Stand
This classic design holds multiple plants at different heights. Perfect for beginners with basic woodworking skills.
Materials needed:
- Two 1×4 boards (8 feet each) for sides
- Four 1×4 boards (various lengths) for shelves
- Wood screws and glue
Time required: 2-3 hours Cost: $15-20
The ladder design works indoors and outdoors. Make it taller for floor plants or shorter for tabletop displays. Sand all pieces smooth and apply your choice of stain or paint for a professional finish.
2. Three-Tier Corner Stand
Corner plant stands maximize space in tight areas. This triangular design fits perfectly in room corners.
Materials needed:
- 1×6 pine boards for shelves
- 1×2 boards for frame
- Corner brackets for extra support
Time required: 1-2 hours Cost: $12-18
Cut three triangular shelves in decreasing sizes. Connect them with vertical supports to create the tiered effect. This design holds six medium-sized plants comfortably.
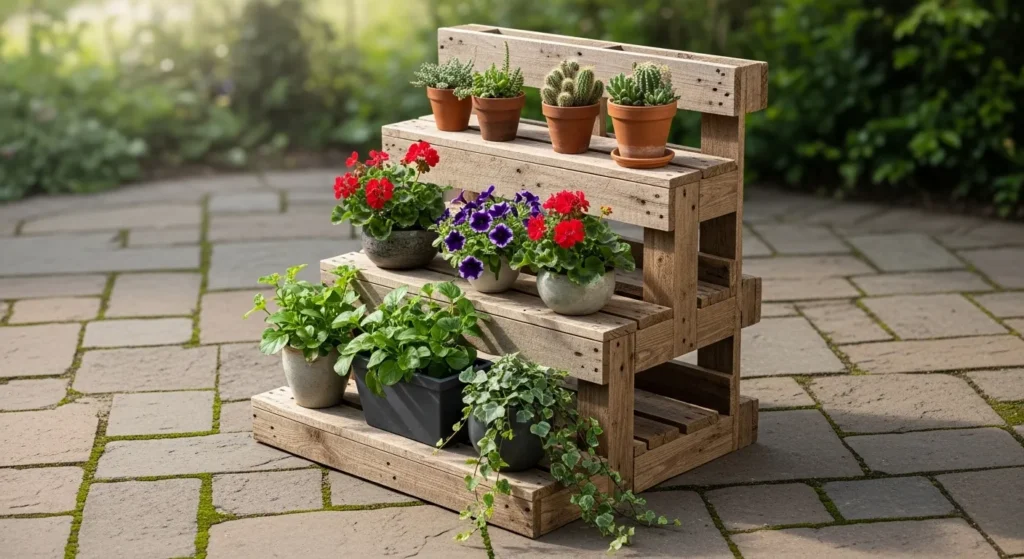
3. Pallet Wood Plant Stand
Recycled pallets make excellent plant stands with minimal cost and effort.
Materials needed:
- One wooden pallet
- Sandpaper
- Wood stain or paint
Time required: 30 minutes to 1 hour Cost: $5-10
Disassemble the pallet and rebuild it into a box shape with legs. This rustic style works well for outdoor gardens and covered porches. Make sure to sand thoroughly to remove splinters.
4. Concrete and Wood Stand
Modern concrete bases with wooden tops create stylish contemporary plant stands.
Materials needed:
- Fast-setting concrete mix
- Plastic bucket for mold
- Wooden circle for top
- Three wooden dowels for legs
Time required: 2 hours active, 24 hours drying Cost: $8-15
Mix concrete according to package directions. Pour into oiled bucket and insert dowel legs. Let cure completely before removing from mold and attaching wooden top.
5. Folding Plant Stand
Perfect for small spaces, this stand folds flat for storage.
Materials needed:
- 1×3 pine boards
- Hinges
- Eye hooks and chains
Time required: 2-3 hours Cost: $20-25
Build two identical frames and connect with hinges. Add chain stops to prevent over-extending. This design works great for seasonal plant displays.
6. Hairpin Leg Stand
Mid-century modern style using metal hairpin legs and wooden tops.
Materials needed:
- Round wooden top
- Three hairpin legs
- Mounting screws
Time required: 30 minutes Cost: $25-30
Purchase hairpin legs online or from furniture supply stores. Attach to a wooden circle for an instant modern plant stand. This style works beautifully with contemporary home decor.
7. Tiered Outdoor Stand
Large outdoor stands for garden displays and patio arrangements.
Materials needed:
- 2×4 pressure-treated lumber
- Deck screws
- Exterior wood stain
Time required: 3-4 hours Cost: $25-35
Build a sturdy frame with multiple levels for outdoor plant displays. Use galvanized hardware to prevent rust. This design handles heavy ceramic pots and larger plants.
8. Hanging Plant Stand
Wall-mounted stands save floor space while displaying plants at eye level.
Materials needed:
- 1×6 board for shelf
- Metal brackets
- Wall anchors
- Screws
Time required: 1 hour Cost: $10-15
Mount securely to wall studs for heavy plants. Add multiple shelves at different heights for varied plant displays. Perfect for rooms with limited floor space.
9. Rolling Plant Stand
Mobile stands with wheels for easy plant rearrangement.
Materials needed:
- Square wooden frame
- Heavy-duty casters
- Wood for top shelf
Time required: 1-2 hours Cost: $20-30
Build a simple box frame and attach locking casters. This design lets you move plants easily for cleaning or seasonal rearrangement.
10. Upcycled Drawer Stand
Transform old furniture drawers into unique plant stands.
Materials needed:
- Old drawer
- Four wooden legs
- Mounting hardware
Time required: 1 hour Cost: $5-12
Attach legs to an old drawer bottom. The drawer sides create a natural planter box effect. This project gives new life to discarded furniture pieces.
Choosing the Right Design for Your Space
Indoor vs. Outdoor Considerations
Indoor plant stands can use any wood type and finish. Focus on style and size to match your interior decor. Consider the weight of your plants when selecting materials.
Outdoor stands need weather-resistant materials. Cedar, teak, or pressure-treated lumber work best for outdoor use. Apply exterior-grade finishes to protect against moisture and UV damage.
Size and Height Planning
Measure your plants and available space before building. Most plant stands work best between 12-36 inches tall. Taller stands showcase larger plants but may overwhelm small rooms.
Consider the mature size of your plants when planning shelf spacing. Leave room for growth and easy watering access.
Style Matching
Choose designs that complement your existing decor. Rustic pallet stands work well in farmhouse settings. Clean-lined modern stands suit contemporary homes. Traditional ladder designs fit most decorating styles.
Step-by-Step Building Guide
Planning Your Project
Start by sketching your design and measuring twice before cutting. Make a materials list and gather all tools before beginning. This preparation prevents delays and mistakes during construction.
Cutting and Preparing Wood
Cut all pieces to size before assembly. Sand each piece with 120-grit paper, then 220-grit for smooth finishes. Remove all dust before applying stain or paint.
Assembly Tips
Use wood glue on all joints for extra strength. Clamp pieces while screws set for tight joints. Pre-drill holes to prevent wood splitting, especially near board ends.
Finishing Techniques
Apply stain or paint in thin, even coats. Let each coat dry completely before adding the next. Use polyurethane topcoat for durability, especially on outdoor projects.

Plant Stand Safety and Stability
Weight Distribution
Consider the weight of plants, pots, and water when designing stands. Most houseplants weigh 5-15 pounds when watered. Build stands to support at least double the expected weight for safety.
Stability Features
Wide bases provide better stability than narrow ones. Add cross-braces between legs for extra support. Test completed stands with weight before adding plants.
Child and Pet Safety
Sand all surfaces smooth to prevent splinters. Avoid sharp corners near play areas. Secure tall stands to walls if they might tip over when bumped.
Maintenance and Care
Regular Cleaning
Wipe stands weekly with a damp cloth to remove dust and plant debris. Check for water damage from plant watering and address promptly.
Seasonal Maintenance
Inspect outdoor stands for weather damage each spring. Reapply protective finishes as needed. Tighten loose screws and replace damaged parts.
Plant Rotation
Move plants periodically to prevent uneven growth toward light sources. This rotation also helps identify and address any stand damage early.
Cost Breakdown and Money-Saving Tips
Budget-Friendly Materials
Pine lumber costs significantly less than hardwoods while still providing good results for indoor stands. Buy lumber in standard lengths to minimize waste and cutting fees.
Free Material Sources
Check construction sites for discarded lumber (with permission). Habitat for Humanity ReStores often sell building materials at reduced prices. Old pallets provide free wood for rustic projects.
Tool Sharing
Borrow or rent expensive tools like miter saws for one-time projects. Many home improvement stores offer tool rental programs. Share tool costs with neighbors for occasional use items.
Troubleshooting Common Problems
Wobbly Stands
Check all screws for tightness. Add cross-braces between legs if needed. Ensure the base sits level on the floor.
Water Damage
Use plant saucers to protect wood finishes. Apply additional coats of polyurethane in high-moisture areas. Replace damaged boards promptly to prevent further deterioration.
Size Issues
Measure plants before building to ensure proper fit. Account for plant growth when spacing shelves. Build adjustable designs when plant sizes vary significantly.
Creative Customization Ideas
Decorative Elements
Add rope wrapping around legs for nautical themes. Paint geometric patterns for modern looks. Attach small planters directly to stand frames for built-in growing space.
Functional Additions
Include hooks for hanging plants or garden tools. Add drawers for storing plant care supplies. Build wheels into bases for mobile plant displays.
Personal Touches
Stencil family names or house numbers onto stands. Use different stain colors to match existing furniture. Add LED strip lighting for dramatic evening plant displays.
Advanced Plant Stand Projects
Multi-Level Garden Stands
Build large outdoor stands with multiple tiers for extensive plant collections. Include built-in water drainage and weather protection features.
Modular Systems
Create interlocking stands that can be rearranged as plant collections grow. Use standardized connections for easy reconfiguration.
Integrated Planters
Combine plant stands with built-in planters for growing herbs or small vegetables. Include drainage systems and removable inserts for easy maintenance.
Seasonal Considerations
Spring Setup
Prepare outdoor stands for growing season by cleaning and refinishing as needed. Check structural integrity after winter weather exposure.
Summer Use
Provide shade protection for heat-sensitive plants. Ensure adequate ventilation around stands to prevent moisture buildup.
Fall Preparation
Move tender plants indoors on portable stands. Clean and store seasonal stands in protected areas during winter months.
Winter Storage
Disassemble temporary stands for compact storage. Protect permanent outdoor stands with covers or move to sheltered areas.
Plant Stand Design Inspiration
Modern Minimalist
Clean lines and simple shapes work well with contemporary decor. Use natural wood finishes or solid paint colors for unified looks.
Rustic Farmhouse
Weathered finishes and reclaimed materials create authentic farmhouse appeal. Combine different wood tones and textures for visual interest.
Industrial Style
Metal pipe frames with wooden shelves suit industrial decorating themes. Use black metal finishes and natural wood stains for contrast.
Conclusion
Building DIY plant stands offers an affordable way to display your plant collection while adding personal style to your home. Most projects require basic tools and skills, making them perfect for woodworking beginners. With materials costing $10-30 per stand, you can create custom displays for a fraction of store-bought prices.
Start with simple designs like basic ladder stands or three-tier corners. As your skills improve, try more complex projects with multiple levels or decorative elements. Remember to choose appropriate materials for indoor versus outdoor use, and always prioritize safety and stability in your designs.
Whether you need plant stands for a small apartment or a large garden, these DIY projects provide practical solutions that match your space and style preferences. Take your time with planning and preparation for professional-looking results that will showcase your plants beautifully for years to come.
Ready to start more DIY projects? Check out our guides on DIY pallet furniture ideas to save money and small patio design inspiration. For plant care tips, see our article about low-light plants that thrive in dark rooms and winter plant care for indoor houseplants.


Leave a Reply