Wall art adds personality to your rooms. You can create pieces that fit your style without spending much. These projects use basic supplies. Most take less than an hour. They suit beginners. Start with what you have at home. Gather tools like glue, paint, and scissors. Follow the steps below for each idea.
Materials You Need for Most Projects
- Canvas or cardboard
- Acrylic paints
- Glue or tape
- String or yarn
- Scissors
- Frames if desired
Project 1: Abstract Paint Swirls
This project makes a colorful canvas. It works well in living rooms.
Steps
- Cover your work area with paper.
- Squeeze paint onto the canvas.
- Use a brush to swirl colors together.
- Let it dry for 30 minutes.
- Hang it on the wall.

For more paint ideas, check our paint finish guide.
Project 2: String Heart Design
String art creates shapes with threads. Try a heart for bedrooms.
Steps
- Draw a heart on wood or cardboard.
- Hammer nails along the outline.
- Tie string to one nail.
- Wrap string around nails to fill the shape.
- Knot the end.

See our accent wall design ideas for ways to pair this with bold walls.
Project 3: Paper Flower Clusters
Paper flowers brighten walls. Use them in kids’ rooms.
Steps
- Cut circles from colored paper.
- Fold each circle in half twice.
- Glue them together to form flowers.
- Attach flowers to a canvas or directly to the wall.
- Group in clusters.

For color choices, read our color psychology guide.
Project 4: Wood Slice Patterns
Wood slices make rustic art. Find slices at craft stores.
Steps
- Arrange slices on a board.
- Paint patterns on some slices.
- Glue them in place.
- Add hooks for hanging.
- Seal with clear coat.
Project 5: Fabric Panel Hanging
Fabric adds texture. Choose patterns you like.
Steps
- Stretch fabric over a frame.
- Staple the edges.
- Trim excess fabric.
- Hang with wire.
- Layer two for interest.

Pair with our textured wall painting techniques.
Project 6: Photo Grid Display
Photos tell stories. Print your favorites.
Steps
- Print black and white photos.
- Cut to same size.
- Tape them in a grid on the wall.
- Use washi tape for edges.
- Change photos anytime.
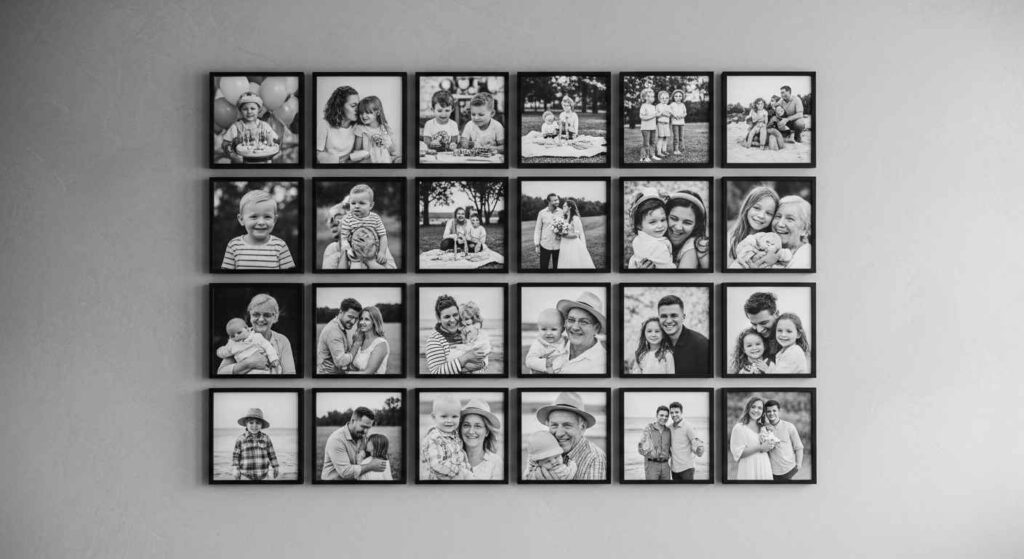
For organization, see our mudroom ideas.
Project 7: Geometric Tape Shapes
Tape makes clean lines. It’s removable.
Steps
- Stick tape on canvas to form triangles.
- Paint inside shapes.
- Peel tape after drying.
- Add metallic accents.
- Frame if needed.

Link to DIY wallpaper hacks for more wall tips.
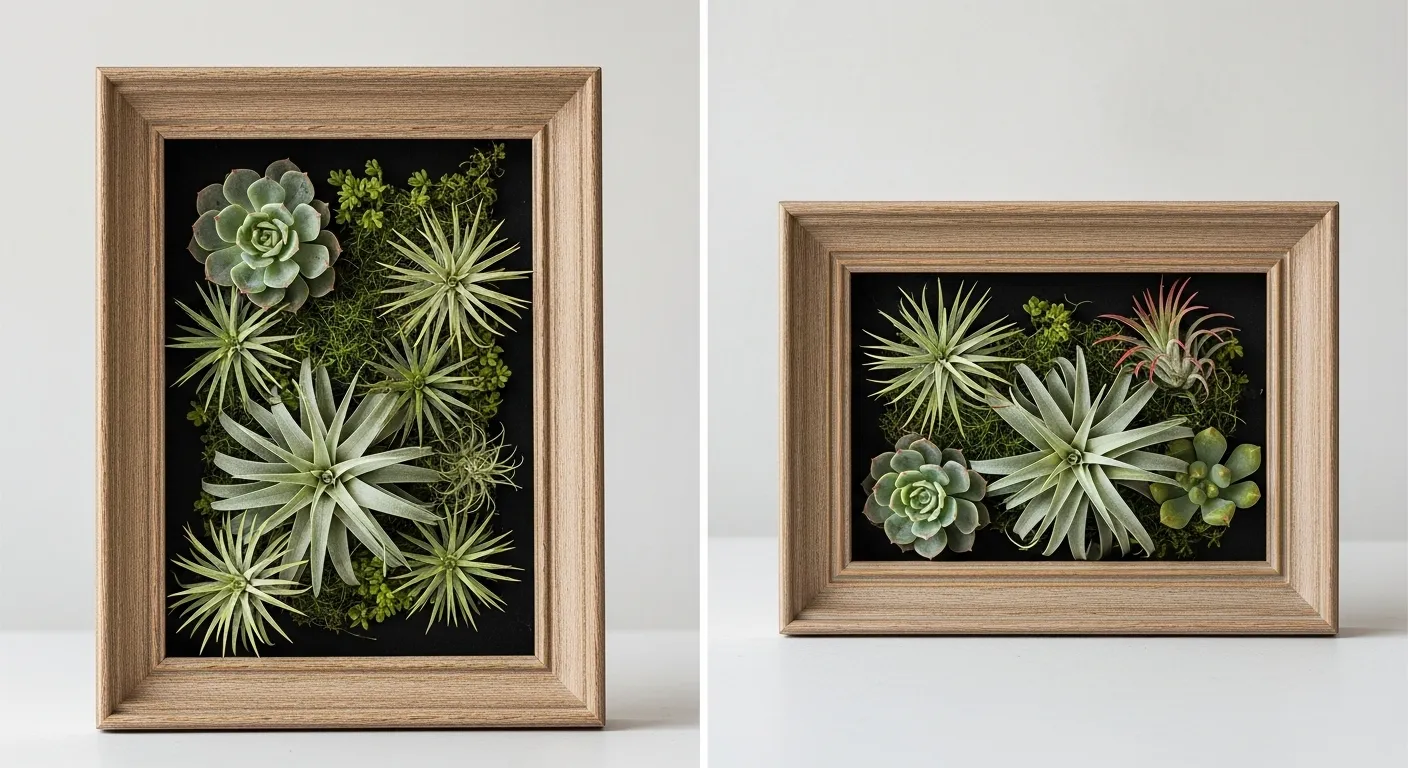
Project 8: Pressed Leaf Frames
Leaves from outside work well. Press them flat.
Steps
- Collect leaves.
- Press between books for a day.
- Arrange in a frame.
- Glue lightly.
- Close the frame.

For plants, visit our low-light plants guide.
Project 9: Yarn Wrap Board
Yarn adds warmth. Wrap for patterns.
Steps
- Nail a pattern on a board.
- Wrap yarn around nails.
- Mix colors.
- Trim ends.
- Hang securely.

See our seasonal organization guide.
Project 10: Recycled Bottle Cap Mosaic
Caps create patterns. Collect from drinks.
Steps
- Arrange caps on cardboard.
- Paint if needed.
- Glue them down.
- Frame the mosaic.
- Hang on wall.
Why Make Your Own Wall Art?
DIY wall art saves money. It lets you customize your space. You can match colors to your rooms. These projects use everyday items. They’re easy to finish. Plus, they’re fun to make.
Common Questions Answered
- How much do supplies cost? Most projects use items under $10. Check dollar stores.
- Can kids help? Yes, projects like paper flowers are safe for kids with supervision.
- How long do they last? With care, most last years. Seal wood or paint for durability.
- Where to hang art? Try living rooms, bedrooms, or hallways for impact.
These projects help fill walls. They save money. Try one today. Your home will feel new. Share your results in comments.
Leave a Reply